

10 Fall Yard Tasks to Complete Before First Frost Hits


Every fall the yard hands out a small checklist that most homeowners skip. And every spring the yard hands out the bill. Dead patches in the lawn. A split garden hose that has to be replaced. Perennials that didn’t come back. Pavers heaved by frost. Almost all of it preventable with a Saturday or two of specific fall tasks done in the right order. Here are the 10 that actually matter… the ones that save real money in the spring, plus the timing for each so nothing gets missed before the first frost hits.

Fall yard work is one of those household jobs that quietly determines what next spring looks like. Do it right and April arrives with a lawn that greens up fast, perennials that come back thicker, and outdoor equipment ready to go. Skip it and you spend April dealing with problems that would have been ten-minute fixes in October.
Below is the 10-task list, roughly in the order to do them as fall progresses toward first frost. In most northern climates that’s October to mid-November. In southern climates the same tasks shift to November-December.
1. Rake leaves in small batches (not one heroic weekend)
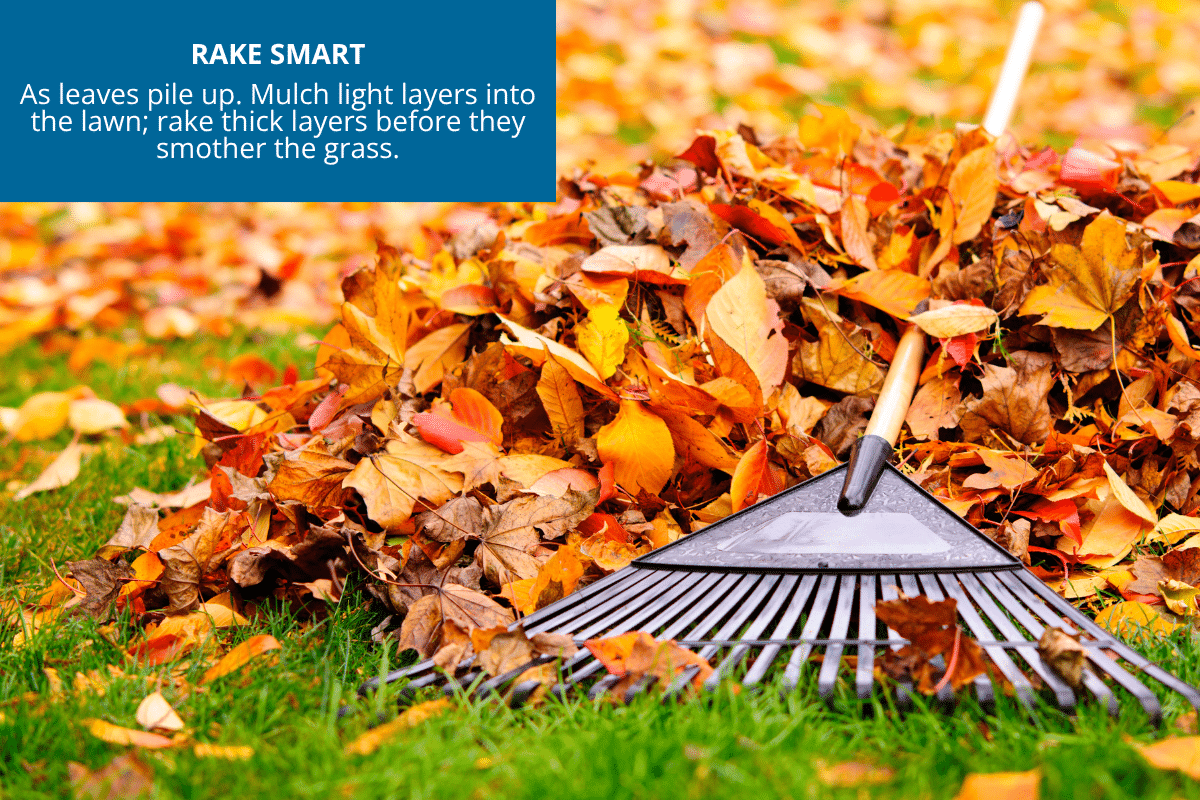
When: As leaves accumulate, especially before they become wet and matted.
You don’t have to wait until every tree has dropped its last leaf and then spend your entire Saturday wrestling with a mountain of them. A quick cleanup every week or two, or whenever the leaves start getting thick, can keep the job manageable.
Better yet, if the layer is light, mow right over it and let the mower chop the leaves into tiny pieces. Those bits break down and return nutrients to the soil, giving your lawn a little free fertilizer without hauling a single bag to the curb. If the leaves are thick enough to hide the grass, though, rake them up. A heavy layer can block sunlight and air and leave your lawn struggling underneath.
And here’s the part I wish someone had told me years ago: you don’t need to remove every leaf from your yard. Leave a light layer in garden beds and around trees and shrubs. It can provide natural protection for the soil and plant roots over winter.
2. Aerate and overseed the lawn
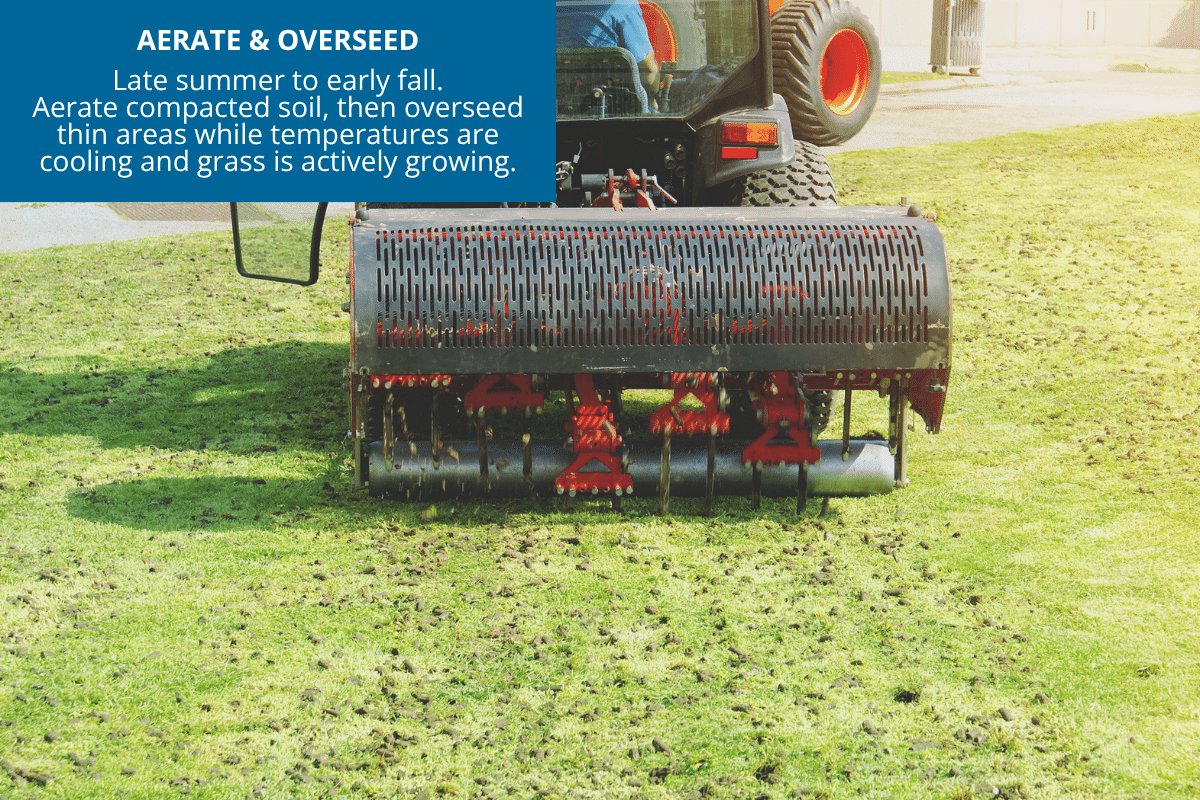
When: Early fall, September through mid-October, when your grass is actively growing and temperatures are cooling.
If your lawn feels hard and compacted underfoot or looks thin and patchy, fall is a good time to give it a fresh start. Aeration pulls small plugs of soil from the lawn, opening the ground so water, air and nutrients can reach the roots. Then overseeding fills in thin areas with new grass.
Rent a motorized aerator from a hardware store for a Saturday ($60 to $100), buy a manual aerator ($30-$50), or hire a service ($100 to $200 for an average yard). Immediately after aerating, spread grass seed suited to your climate and keep the soil consistently moist until the new seed is established.
One important detail: Cool-season grasses generally do best when overseeded in early fall. Warm-season grasses have a different schedule, so check the recommended timing for your grass type before you start.
Done at the right time, fall aeration and overseeding can leave you with thicker, healthier grass going into winter and a better-looking lawn next spring.
3. Give the lawn one last feeding
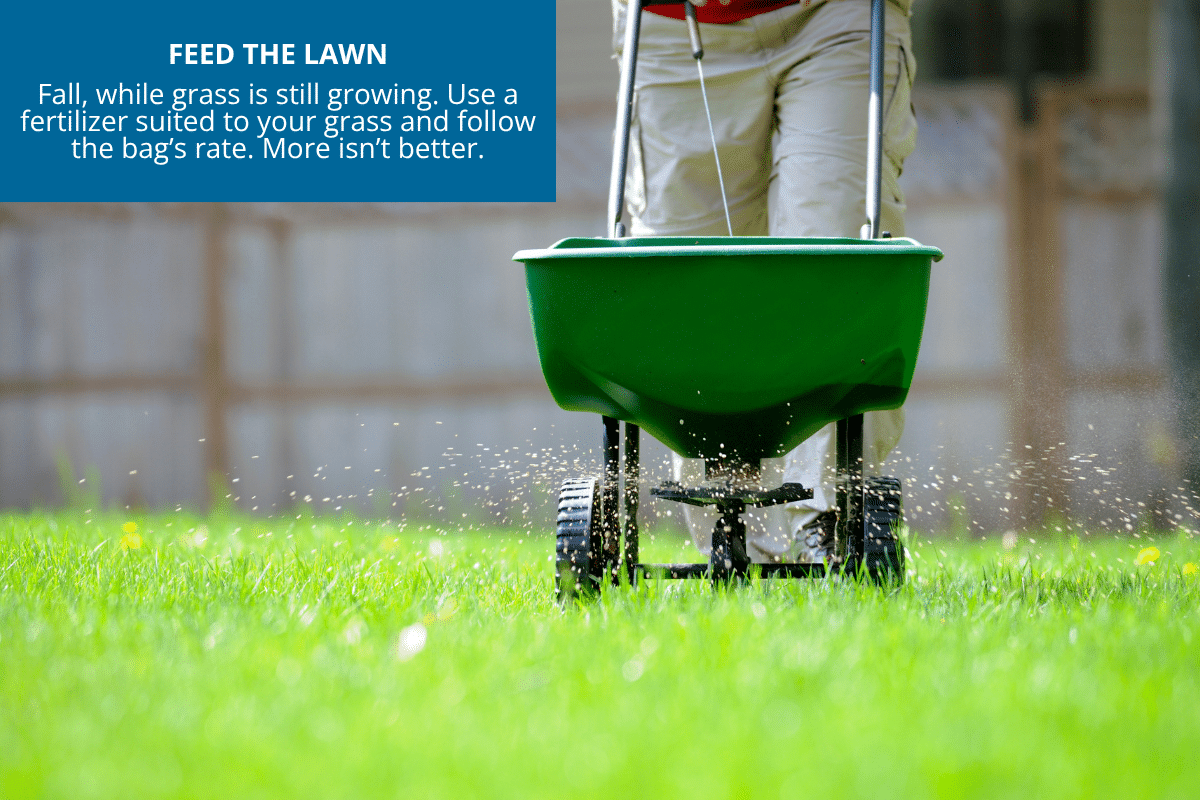
When: October into early November, before the ground freezes solid.
Fall is an important time to fertilize, especially for cool-season lawns. The grass can use those nutrients to build strong roots and store energy for winter, helping it come back healthier in spring.
Choose a fertilizer formulated for your type of grass and follow the application rate on the bag. More is not better. Overfertilizing can burn your lawn, waste money and send excess nutrients where they don’t belong.
If you’re not sure what your lawn needs, a local garden center or county extension office can help you choose the right product. A little homework here can save you from buying and spreading the wrong stuff.
4. Drain your hoses before you forget
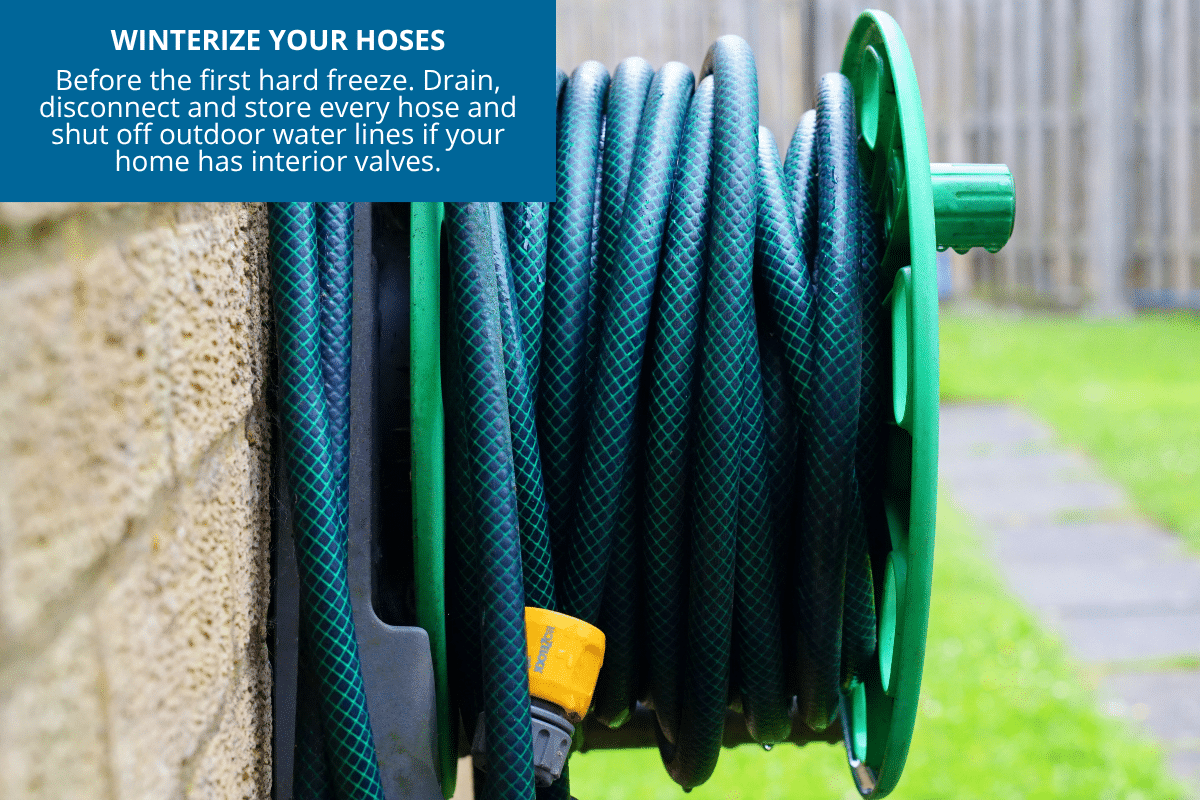
When: Before the first hard freeze. Don’t wait for the news to warn you.
Water left inside a garden hose can freeze, expand and damage the hose, and potentially put stress on the faucet and connected plumbing. It’s a cheap problem to prevent.
- Disconnect every hose from its spigot.
- Stretch hoses out so the water can drain completely.
- Remove nozzles and other attachments.
- Coil loosely and store hoses in a garage, shed or other protected space.
- If your home has interior shutoff valves for outdoor faucets, turn them off and drain the outdoor lines.
- Add insulated spigot covers for an extra layer of protection.
One small chore now can save you from a very expensive plumbing surprise later.
5. Clean and stash the outdoor furniture
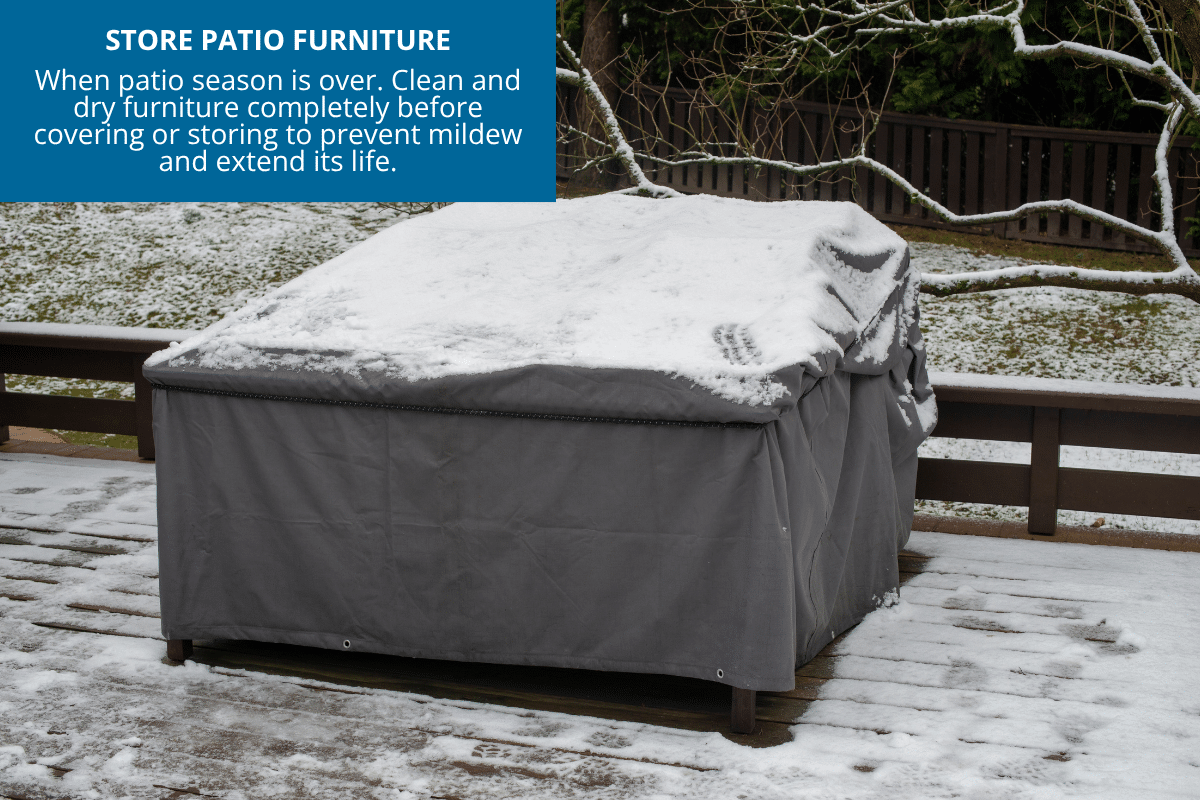
When: As soon as you’re done using it for the season.
Leave patio furniture out all winter and sun, rain, snow and moisture will shorten its life. A little cleanup now can buy you years before you need to replace anything.
Wash furniture with warm water, a squirt of dish soap and, for most materials, a splash of white vinegar. Scrub off dirt, pollen and mildew, rinse well, and let everything dry completely before covering or storing. Trust me on that last part. Skip it and you’re storing mildew, not furniture.
If you have room, move furniture into a garage, shed or basement. No space? Tuck it under a covered porch and use a weather-resistant cover. Bring cushions indoors or store them in a deck box if you can. They’re often the first thing to wear out.
6. Cut back the right perennials (and only the right ones)
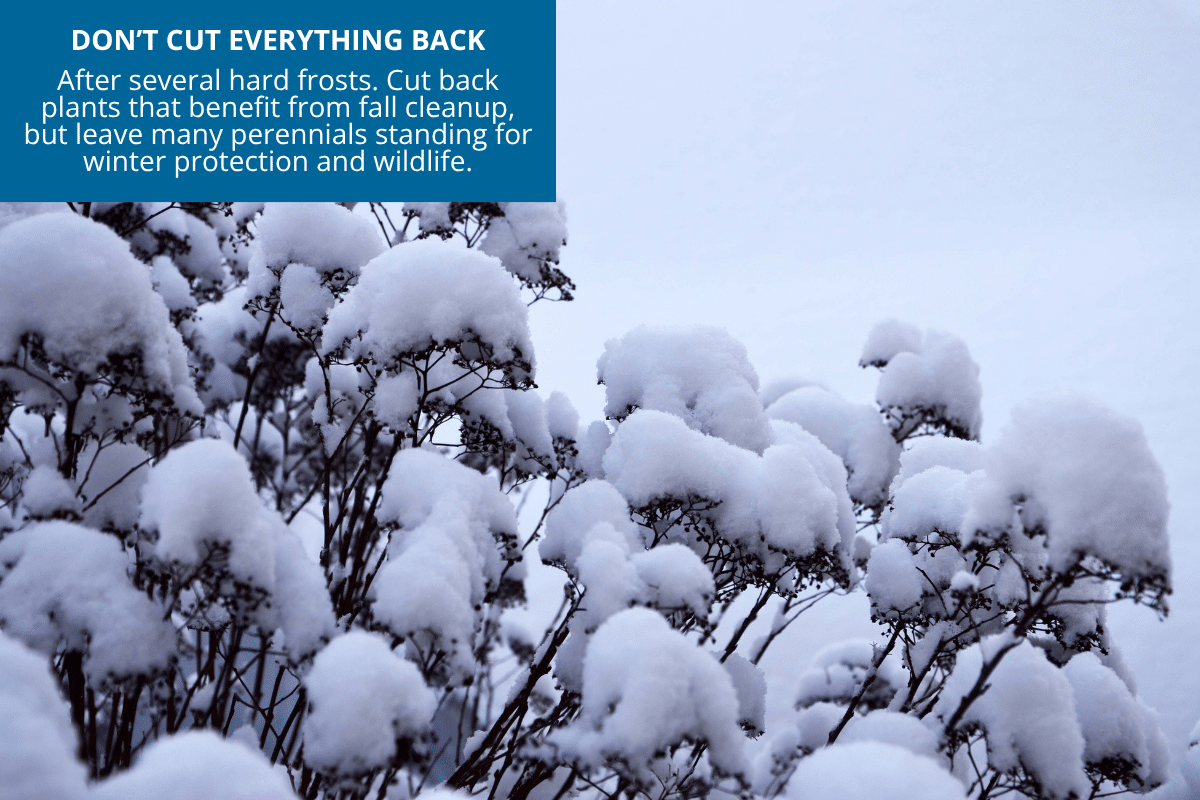
When: After several hard frosts.
Fall cleanup doesn’t mean cutting every perennial down to the ground. Some plants benefit from being cut back, while others are better left standing through winter to protect the crown, feed birds and give beneficial insects a place to shelter.
Peonies, hostas, daylilies and bearded iris are among the perennials that can benefit from a fall cleanup. On the other hand, coneflowers, black-eyed Susans and many ornamental grasses can stay right where they are until spring.
Always remove diseased or pest-infested foliage and dispose of it rather than adding it to your compost pile.
Not sure what stays and what goes? Check the needs of each plant before you start snipping. A few minutes of research can save you from accidentally cutting back something that would rather spend winter standing tall.
7. Divide overgrown perennials
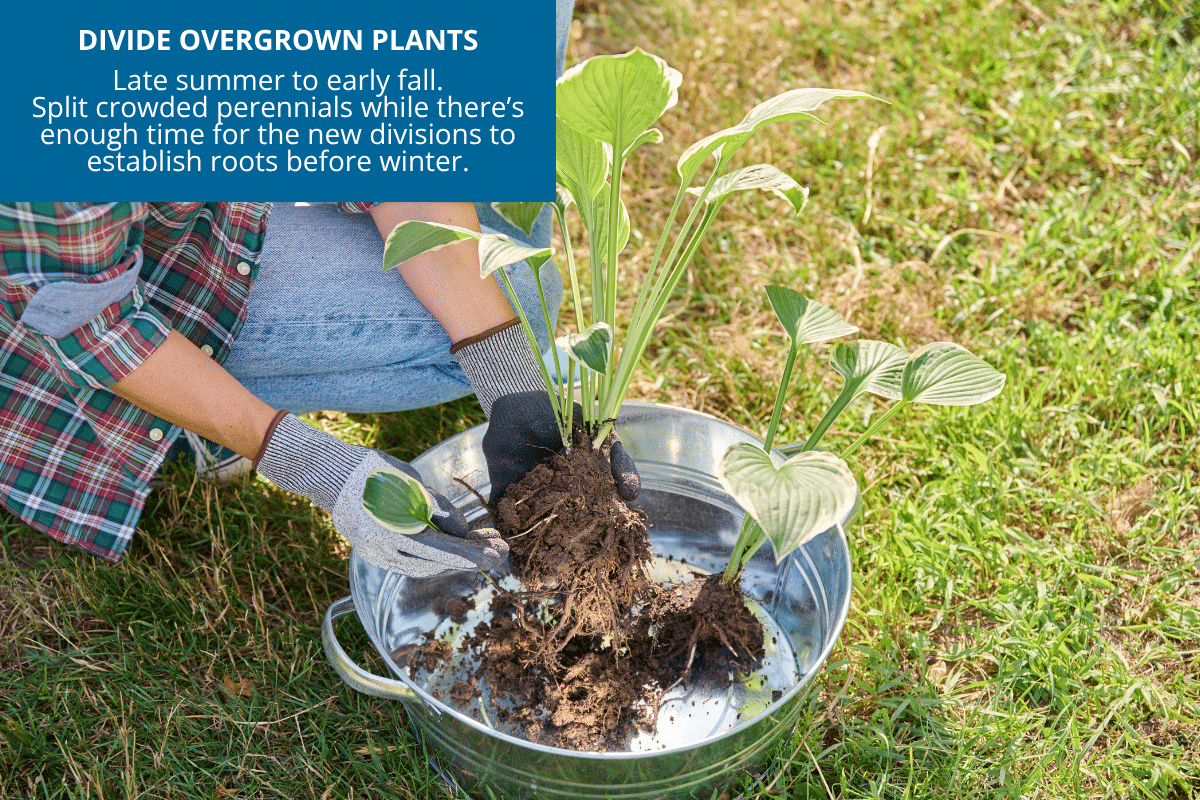
When: Late summer to early fall, while there’s still time for new roots to establish before the ground freezes.
If a perennial has gotten crowded or the center has stopped blooming like it used to, it may be telling you it’s time for a little division. Dig it up, split the root ball into healthy sections, and replant. You get free plants, a healthier bed and often better blooms next year. That’s about as good a trade as gardening offers.
Good candidates include hostas, daylilies, bearded iris, ornamental grasses and other clump-forming perennials. Water the plant well a day or two before dividing, use a sharp spade or shovel, and give each new section plenty of roots. Water the divisions well after replanting and keep the soil consistently moist while they get established.
One caution: Not every perennial likes to be divided in fall. Check the specific plant before you start digging, especially if you’re unsure when it flowers or how it overwinters.
8. Get the spring bulbs in the ground
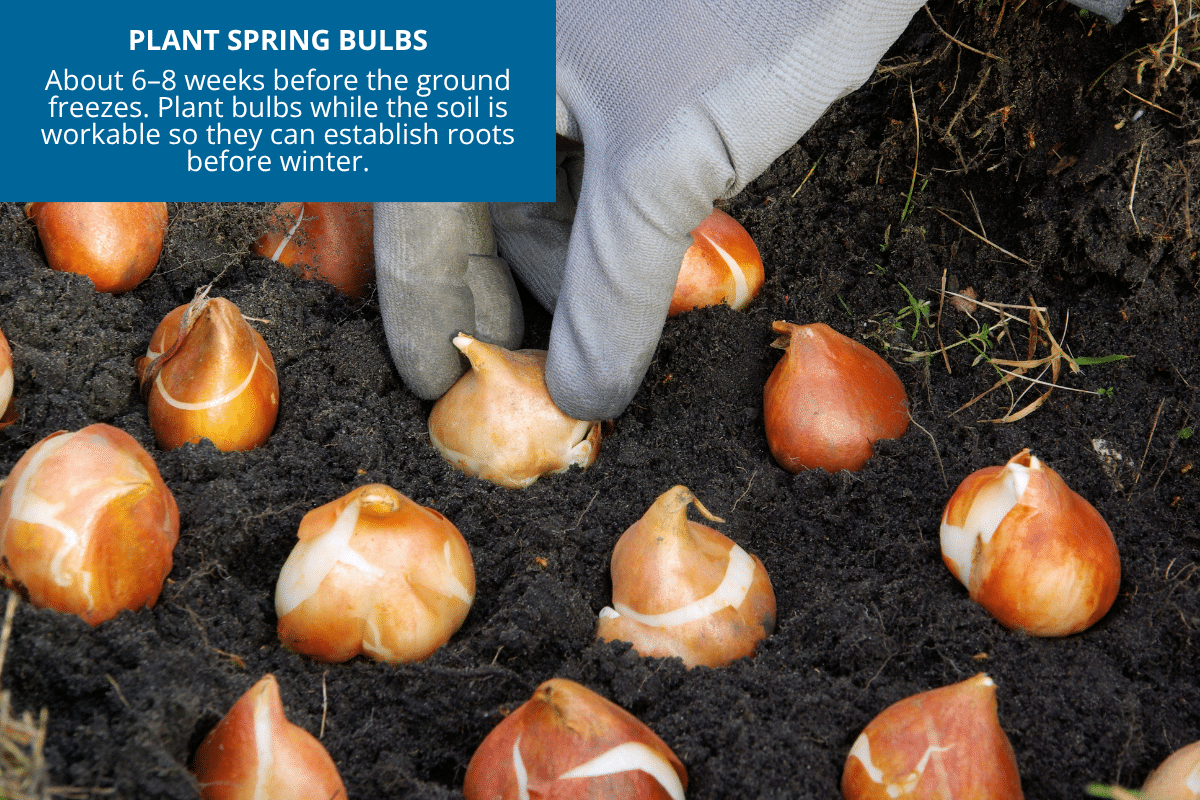
When: Generally 6 to 8 weeks before the ground freezes.
Tulips, daffodils, crocuses, hyacinths and other spring-blooming bulbs go into the ground in fall so they have time to establish roots before winter. Many also need a period of cold to bloom properly in spring.
The exact timing depends on where you live and what you’re planting. In colder areas, that may mean October; in warmer areas, November or even later. Check the planting instructions for your bulbs and get them in while the soil is workable.
Look for bulbs in bulk or end-of-season sales, and plant them in clusters rather than scattering them one by one. A generous grouping makes a much bigger springtime splash for your money.
Plant at the depth recommended on the package, pointy side up, and water them in. Then leave them alone. The bulbs will do their winter work underground while you wait for the show.
9. Winterize the sprinkler system before it winterizes itself
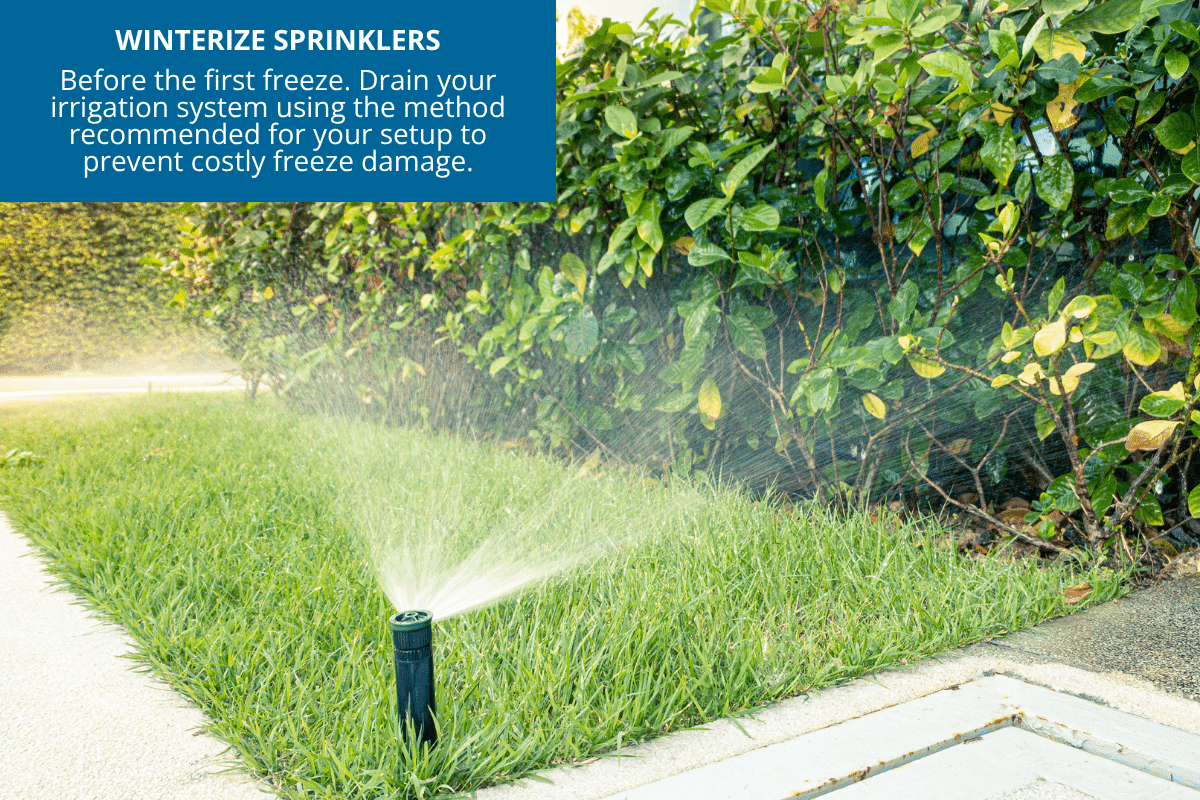
When: Before the first freeze. Don’t push your luck on this one.
If you have an in-ground sprinkler system, don’t leave winterizing it until the last minute. Water left in the lines can freeze, expand and damage pipes, valves and sprinkler heads, turning a simple fall chore into a spring repair bill.
Some systems can be drained manually or automatically; others need to be blown out with compressed air. Check your system’s instructions to find out which method is appropriate. If it requires a blowout and you don’t have the right equipment, hiring an irrigation professional is money well spent. A mistake with compressed air can damage the system you’re trying to protect.
And while you’re at it, shut off the irrigation timer for the season. One less thing to forget when the temperatures drop.
10. Clean the gutters. Then clean them again.
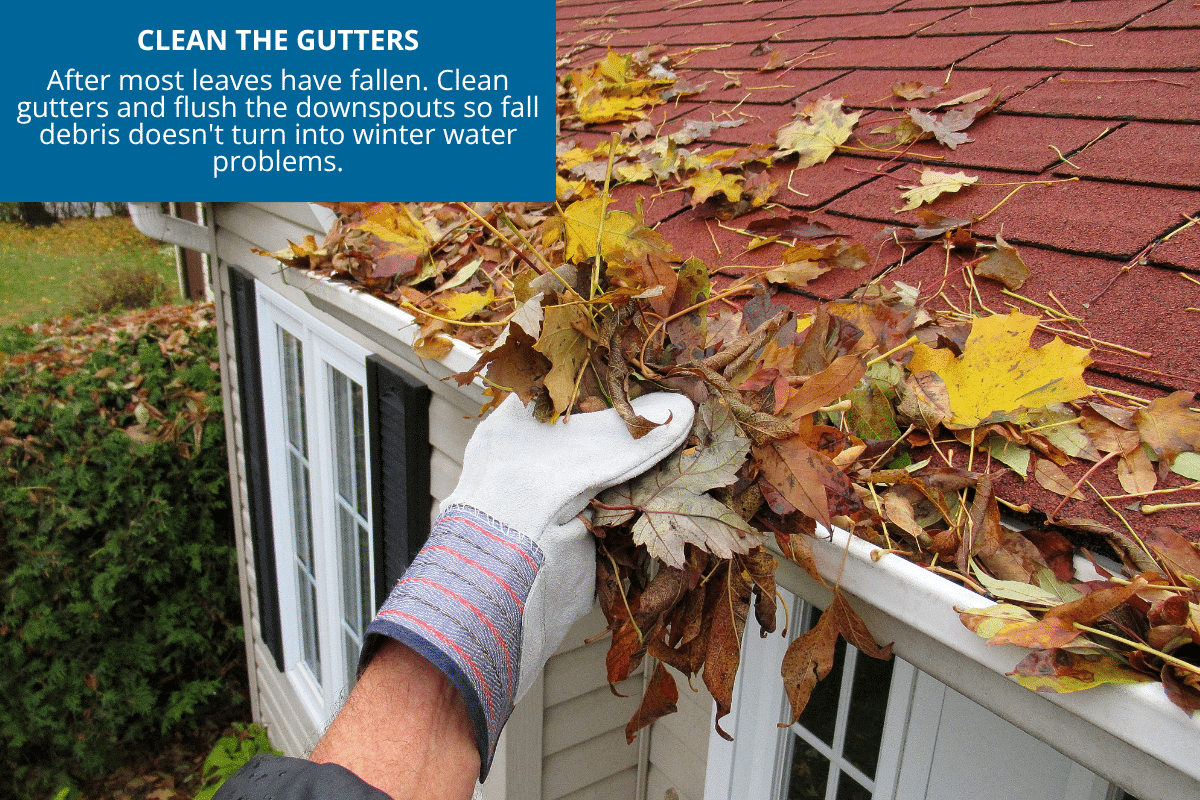
When: Late fall, after most of the leaves are down.
Clogged gutters can send water overflowing where you don’t want it: against your siding, fascia and foundation. Let that water freeze, and a small fall chore can turn into an expensive winter headache.
If your trees are still dropping leaves, clean the gutters once during the heavy leaf fall and again after most of the trees are bare. Run a hose through the gutters and downspouts afterward to make sure water is flowing freely all the way through.
Not comfortable on a ladder? This is worth paying someone $75 to $150 to do. Cheaper than a new roof, and a lot less stressful than watching your spouse hold the ladder while pretending they’re not nervous.
The small stuff that adds up
Got a little time left after tackling the big 10? These small jobs can make spring easier:
- Sharpen and oil garden tools before putting them away.
- Empty and store rain barrels so freezing water doesn’t damage them.
- Bring decorative planters inside. Freezing temperatures can crack them.
- Cover the firewood pile and make sure it’s protected from rain and snow while still getting enough airflow to stay dry.
- Take a soil test. Knowing what your soil actually needs now saves guesswork when spring arrives.
- Prune only shrubs that are appropriate for fall pruning. Timing varies by plant, so check before you cut—hydrangeas are a perfect example.
- Protect young or delicate trees from winter animal damage with tree guards or appropriate wraps.
What skipping it actually costs you
I did the math, because that’s what I do. A few examples:
- Split hose: $30 to $50 to replace
- Sprinkler damage: Hundreds of dollars to repair
- Dead lawn patches: $200 to $500 to replace
- Gutter-related fascia damage: Hundreds to thousands to repair
- Dead perennials: $50 to $200 to replace
- Winter-damaged patio furniture: $200 to $1,000 or more to replace
The exact numbers depend on your yard, your climate and what goes wrong. But the lesson is pretty simple: a little preventive work is almost always cheaper than fixing winter damage later. Most of these chores don’t require special skills or an entire weekend. Tackle them a little at a time, and you’ll head into winter knowing you’ve protected what you’ve already paid for.
That’s a pretty good return on a few hours of work and a whole lot better than discovering the problem when the repair bill arrives in spring.
Question: So what’s the one fall task you always skip? And be honest: what happened the spring you finally didn’t get away with it? Tell me in the comments. I promise I won’t judge. Much.
EverydayCheapskate™ is reader-supported. We participate in the Amazon Services LLC Associates Program and other affiliate advertising programs, designed to provide a means for us to earn from qualifying purchases, at no cost to you.

More from Everyday Cheapskate
 https://www.everydaycheapskate.com/wp-content/uploads/20260913-how-to-winterize-your-home-snowy-driveway-suburban-home.png
800
1200
Mary Hunt
https://www.everydaycheapskate.com/wp-content/uploads/EC-Logo-by-Mary-Hunt-Tagline-Trimmed.png
Mary Hunt2026-09-13 15:32:142026-09-28 22:48:55The Complete Guide to Winterizing Your Home This Fall
https://www.everydaycheapskate.com/wp-content/uploads/20260913-how-to-winterize-your-home-snowy-driveway-suburban-home.png
800
1200
Mary Hunt
https://www.everydaycheapskate.com/wp-content/uploads/EC-Logo-by-Mary-Hunt-Tagline-Trimmed.png
Mary Hunt2026-09-13 15:32:142026-09-28 22:48:55The Complete Guide to Winterizing Your Home This Fall https://www.everydaycheapskate.com/wp-content/uploads/20260829-fall-yard-projects-to-tackle-before-the-first-frost-foilage-front-yard-home.png
800
1200
Mary Hunt
https://www.everydaycheapskate.com/wp-content/uploads/EC-Logo-by-Mary-Hunt-Tagline-Trimmed.png
Mary Hunt2026-08-29 17:25:422026-09-28 22:49:2010 Fall Yard Tasks to Complete Before First Frost Hits
https://www.everydaycheapskate.com/wp-content/uploads/20260829-fall-yard-projects-to-tackle-before-the-first-frost-foilage-front-yard-home.png
800
1200
Mary Hunt
https://www.everydaycheapskate.com/wp-content/uploads/EC-Logo-by-Mary-Hunt-Tagline-Trimmed.png
Mary Hunt2026-08-29 17:25:422026-09-28 22:49:2010 Fall Yard Tasks to Complete Before First Frost Hits https://www.everydaycheapskate.com/wp-content/uploads/20260822-central-AC-maintenance-air-condenser-outdoors.png
800
1200
Mary Hunt
https://www.everydaycheapskate.com/wp-content/uploads/EC-Logo-by-Mary-Hunt-Tagline-Trimmed.png
Mary Hunt2026-08-22 14:19:562026-09-28 22:49:43How to Extend the Life of Your Central AC (5 Late-Summer Tune-Up Tips)
https://www.everydaycheapskate.com/wp-content/uploads/20260822-central-AC-maintenance-air-condenser-outdoors.png
800
1200
Mary Hunt
https://www.everydaycheapskate.com/wp-content/uploads/EC-Logo-by-Mary-Hunt-Tagline-Trimmed.png
Mary Hunt2026-08-22 14:19:562026-09-28 22:49:43How to Extend the Life of Your Central AC (5 Late-Summer Tune-Up Tips) https://www.everydaycheapskate.com/wp-content/uploads/20260820-how-to-keep-ants-away-after-youve-killed-the-ant-hill.png
800
1200
Mary Hunt
https://www.everydaycheapskate.com/wp-content/uploads/EC-Logo-by-Mary-Hunt-Tagline-Trimmed.png
Mary Hunt2026-08-20 14:17:552026-09-28 22:49:46How to Keep Ants Away After You Treat the Ant Hill
https://www.everydaycheapskate.com/wp-content/uploads/20260820-how-to-keep-ants-away-after-youve-killed-the-ant-hill.png
800
1200
Mary Hunt
https://www.everydaycheapskate.com/wp-content/uploads/EC-Logo-by-Mary-Hunt-Tagline-Trimmed.png
Mary Hunt2026-08-20 14:17:552026-09-28 22:49:46How to Keep Ants Away After You Treat the Ant Hill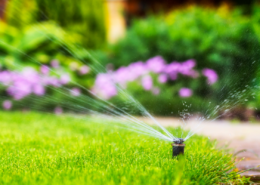 https://www.everydaycheapskate.com/wp-content/uploads/20260815-how-to-water-your-lawn-without-wasting-money.png
800
1200
Mary Hunt
https://www.everydaycheapskate.com/wp-content/uploads/EC-Logo-by-Mary-Hunt-Tagline-Trimmed.png
Mary Hunt2026-08-15 12:45:022026-09-28 22:49:51How to Water Your Lawn Without Wasting Money This Summer
https://www.everydaycheapskate.com/wp-content/uploads/20260815-how-to-water-your-lawn-without-wasting-money.png
800
1200
Mary Hunt
https://www.everydaycheapskate.com/wp-content/uploads/EC-Logo-by-Mary-Hunt-Tagline-Trimmed.png
Mary Hunt2026-08-15 12:45:022026-09-28 22:49:51How to Water Your Lawn Without Wasting Money This Summer https://www.everydaycheapskate.com/wp-content/uploads/20260812-zucchini-overload-what-to-do-with-a-bunch-of-zucchini.png
800
1200
Mary Hunt
https://www.everydaycheapskate.com/wp-content/uploads/EC-Logo-by-Mary-Hunt-Tagline-Trimmed.png
Mary Hunt2026-08-12 17:48:312026-09-28 22:49:57Zucchini Overload? 10 Ways to Use Up Your Garden Surplus
https://www.everydaycheapskate.com/wp-content/uploads/20260812-zucchini-overload-what-to-do-with-a-bunch-of-zucchini.png
800
1200
Mary Hunt
https://www.everydaycheapskate.com/wp-content/uploads/EC-Logo-by-Mary-Hunt-Tagline-Trimmed.png
Mary Hunt2026-08-12 17:48:312026-09-28 22:49:57Zucchini Overload? 10 Ways to Use Up Your Garden Surplus https://www.everydaycheapskate.com/wp-content/uploads/20260724-ratatouille-recipe-served-over-white-rice.png
800
1200
Mary Hunt
https://www.everydaycheapskate.com/wp-content/uploads/EC-Logo-by-Mary-Hunt-Tagline-Trimmed.png
Mary Hunt2026-07-25 12:24:422026-09-28 22:50:42End-of-Summer Ratatouille (Uses Everything From the Garden)
https://www.everydaycheapskate.com/wp-content/uploads/20260724-ratatouille-recipe-served-over-white-rice.png
800
1200
Mary Hunt
https://www.everydaycheapskate.com/wp-content/uploads/EC-Logo-by-Mary-Hunt-Tagline-Trimmed.png
Mary Hunt2026-07-25 12:24:422026-09-28 22:50:42End-of-Summer Ratatouille (Uses Everything From the Garden) https://www.everydaycheapskate.com/wp-content/uploads/20260722-easy-home-repairs-slow-sink-drain-squeaky-hinges-sticky-drawer.png
800
1200
Mary Hunt
https://www.everydaycheapskate.com/wp-content/uploads/EC-Logo-by-Mary-Hunt-Tagline-Trimmed.png
Mary Hunt2026-07-22 13:04:022026-09-28 22:50:4910 Small Home Annoyances You Can Fix in Under 15 Minutes Each
https://www.everydaycheapskate.com/wp-content/uploads/20260722-easy-home-repairs-slow-sink-drain-squeaky-hinges-sticky-drawer.png
800
1200
Mary Hunt
https://www.everydaycheapskate.com/wp-content/uploads/EC-Logo-by-Mary-Hunt-Tagline-Trimmed.png
Mary Hunt2026-07-22 13:04:022026-09-28 22:50:4910 Small Home Annoyances You Can Fix in Under 15 Minutes Each https://www.everydaycheapskate.com/wp-content/uploads/20260721-frozen-bags-of-produce-strawberries-raspberries-peas-peppers.png
800
1200
Mary Hunt
https://www.everydaycheapskate.com/wp-content/uploads/EC-Logo-by-Mary-Hunt-Tagline-Trimmed.png
Mary Hunt2026-07-21 12:14:122026-09-28 22:50:51Freeze Summer Produce Now to Taste It All Winter Long
https://www.everydaycheapskate.com/wp-content/uploads/20260721-frozen-bags-of-produce-strawberries-raspberries-peas-peppers.png
800
1200
Mary Hunt
https://www.everydaycheapskate.com/wp-content/uploads/EC-Logo-by-Mary-Hunt-Tagline-Trimmed.png
Mary Hunt2026-07-21 12:14:122026-09-28 22:50:51Freeze Summer Produce Now to Taste It All Winter Long

The hoses. I always forget the hoses until it’s too cold to get them to lay out nicely to drain and put away. And then we pay with cracks and slits we have to seal, or needing to buy new hoses.
Is there any way to print out this article for my husband? He is 86 and doesn’t like reading online but could benefit from your suggestions. Thanks!
At the end of each article, bottom left, you’ll see a little “print” button with a pritner icon. Click that and you will be directed to a new page with a printer freindly version of the page. Click the print button at the top and off you go.
I often forget to bring planters in- they look better as it gets cooler often. Then they are quietly dealing with 8 inches of snow , but they look fine until they crack in Spring!