

How to Clean Outdoor Patio Furniture for Almost Free

You walk outside on the first warm Saturday of the season, ready to reclaim your backyard, and… oh. That’s what winter did to your furniture. A grayish film on the plastic chairs. A streak of green where mildew quietly moved in and made itself at home. Cushions that look more “weather pattern” than “fabric pattern.” I’ve been there. We’ve all been there. Here’s the good news: you do not need a power washer, a trip to the store, or a whole weekend to fix this. A bucket of warm soapy water, one or two things already in your pantry, and about twenty minutes per piece. That’s it. Let’s get into it.

Most patio furniture damage is just buildup: pollen, dust, sap, the occasional bird situation, and the moisture that gets trapped under cushions. The fix is simple: one good deep clean at the start of the season, a light wipe-down every couple of weeks, and your furniture will last years longer than it would otherwise. This is one of those cases where a little effort now saves real money later.
The catch is that different materials need slightly different treatment. Use the wrong cleaner on plastic and you’ll dull the finish. Scrub teak across the grain and you’ll regret it. Soak a cushion and you’ll be smelling mildew for a week. So let’s go by material, starting with the gentle DIY cleaner that works on most of them.
First: Know What You’re Cleaning
Most outdoor furniture falls into one of these categories. A quick look will tell you which you have:
- Plastic or resin: The most forgiving material. Common on stackable chairs and budget-friendly sets.
- Powder-coated metal (aluminum or steel): Has a smooth, painted-feeling finish. Standard on bistro sets and most mid-range chairs.
- Teak or other untreated wood: Has visible grain and develops a silvery patina over time.
- Resin wicker: Looks like woven wicker but is actually plastic. Very common in modern outdoor sets.
- Fabric cushions: Solution-dyed acrylic (Sunbrella and similar) is most common. Polyester is typical on budget sets.
When in doubt, test your cleaner in a hidden corner first. Five minutes of testing saves a season of regret.
The All-Purpose DIY Patio Furniture Cleaner
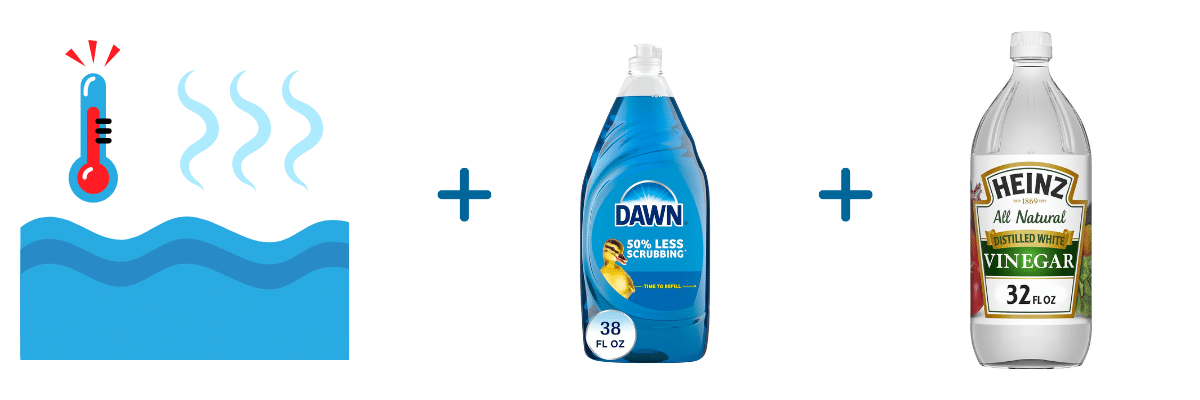
This is the base recipe that works well for most types of patio furniture. Gentle, effective, and made from ingredients you already have.
In a clean bucket, mix:
- 1 gallon warm water
- 1 tablespoon Dawn dish soap
- 1/4 cup white vinegar
That’s your go-to. One heads-up: skip the vinegar if you have a natural stone tabletop nearby, or if your furniture manufacturer advises against acidic cleaners. When in doubt, plain dish soap and water works just fine.
For stubborn mildew or set-in grime, keep a paste of baking soda and water nearby. Dab it directly on the stain, wait ten minutes, then scrub gently with a soft brush. It’ll lift most of what the spray can’t.
How to Clean Each Type of Patio Furniture
Plastic and Resin Furniture
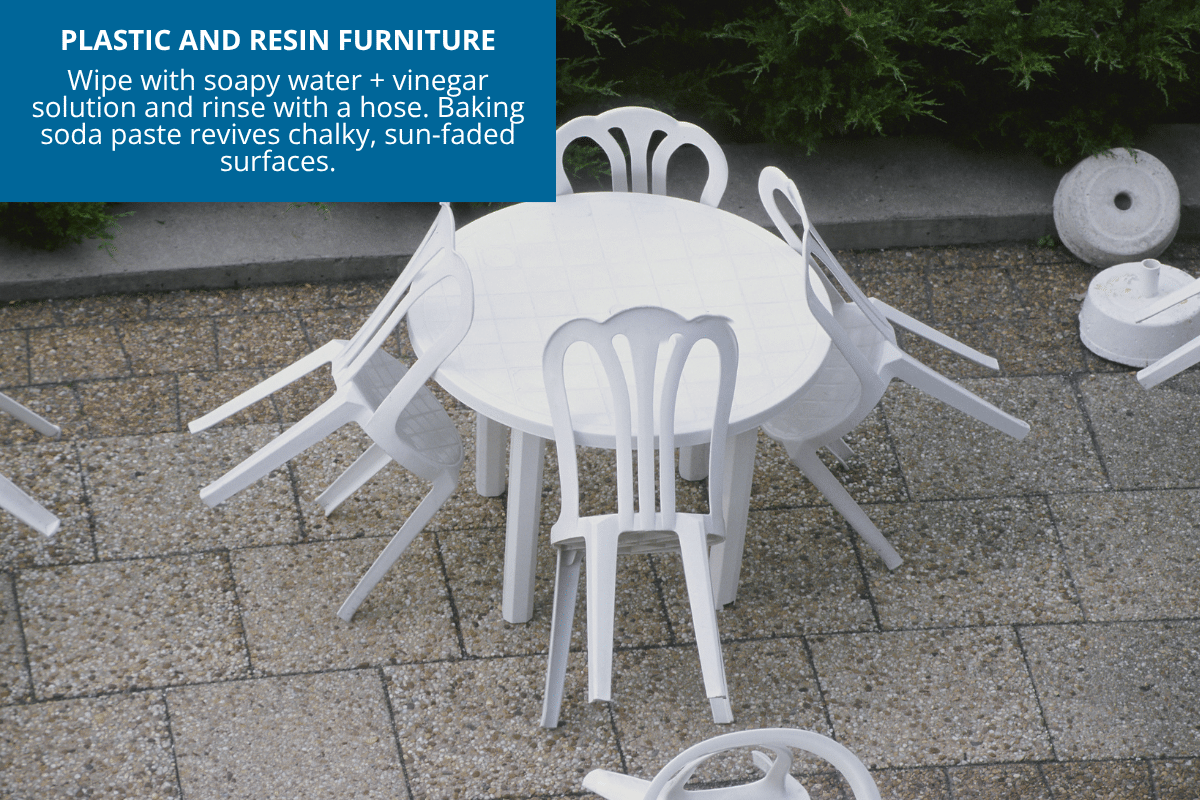
The easiest. Spray or wipe with the DIY cleaner using a soft cloth or sponge. For chalky, sun-faded plastic, a paste of baking soda and water rubbed on with a damp cloth brings back a surprising amount of life. Rinse with a garden hose and let air dry. Some people like to finish sturdy resin pieces with a light coat of car wax for extra UV protection. Just know it can create a slippery surface on seat areas, so use your judgment there.
Powder-Coated Metal
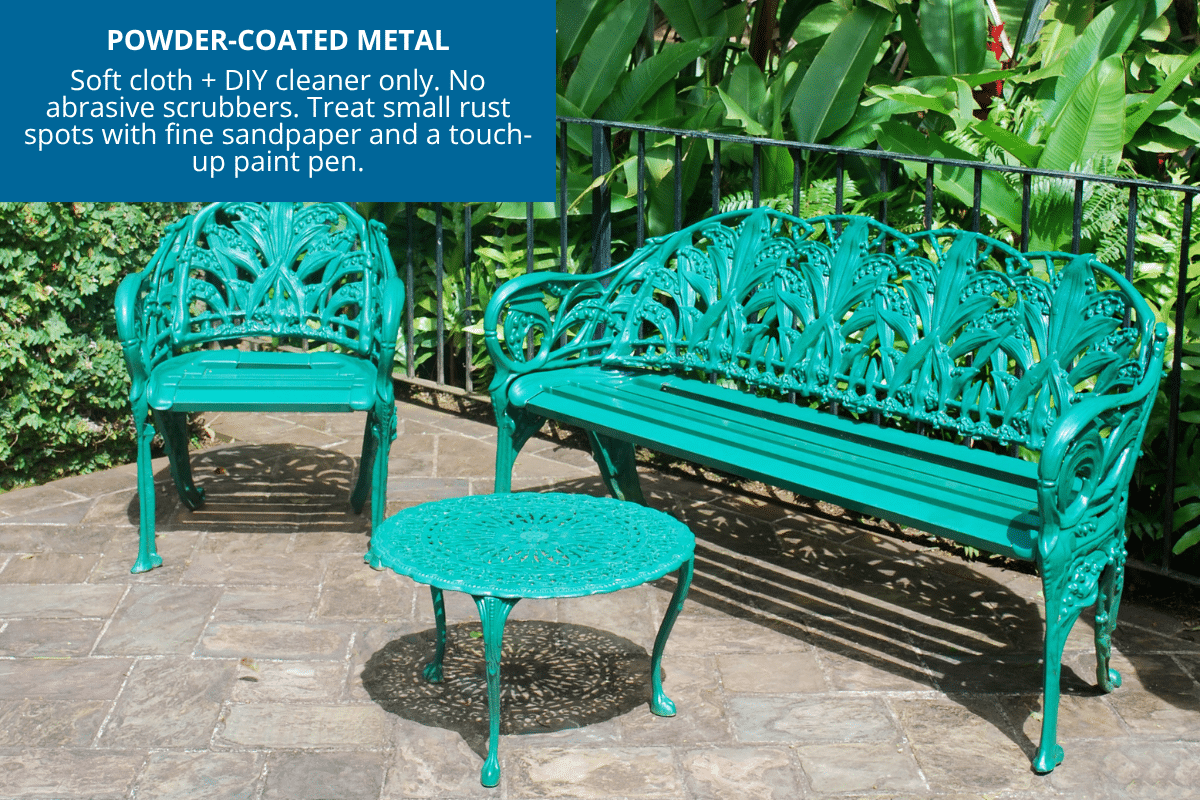
Use the DIY cleaner with a soft cloth. Avoid abrasive scrubbers. They can wear through the coating and expose metal underneath, which then rusts. For any small rust spots that have already appeared, sand them lightly with very fine sandpaper, dab with a touch-up paint pen, and seal with clear nail polish in a pinch.
Teak and Untreated Wood
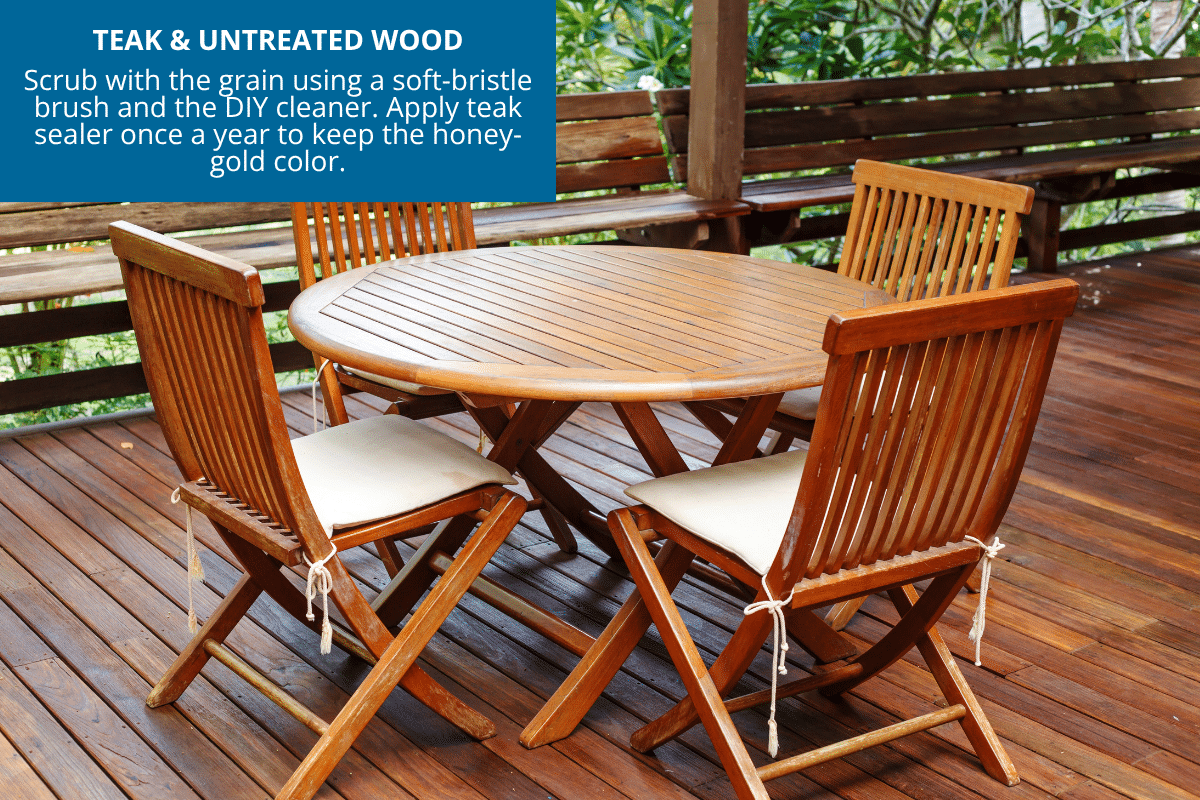
Use the DIY cleaner with a soft-bristle brush, scrubbing along the grain (never across). Rinse with a hose and let dry completely. If you want to keep teak looking honey-gold instead of letting it gray, apply teak oil once a year after cleaning. If you like the weathered silver look, just let it be.
Resin Wicker
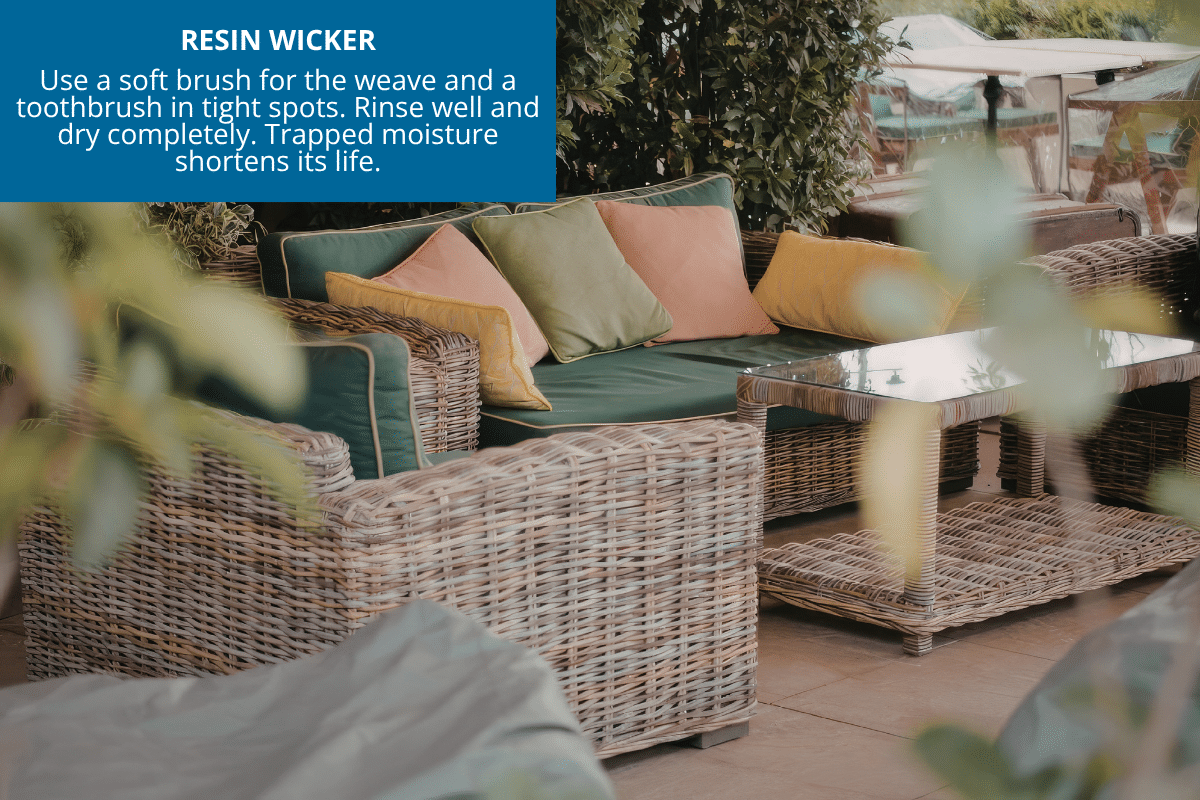
The DIY cleaner with a soft brush works well. Pay attention to the woven seams where dirt collects. A toothbrush helps in tight spots. Rinse thoroughly and let air dry standing on a towel. Trapped moisture and prolonged sun exposure both shorten the life of resin wicker, so drying it well and keeping it covered when possible makes a real difference.
Cushions and Fabric
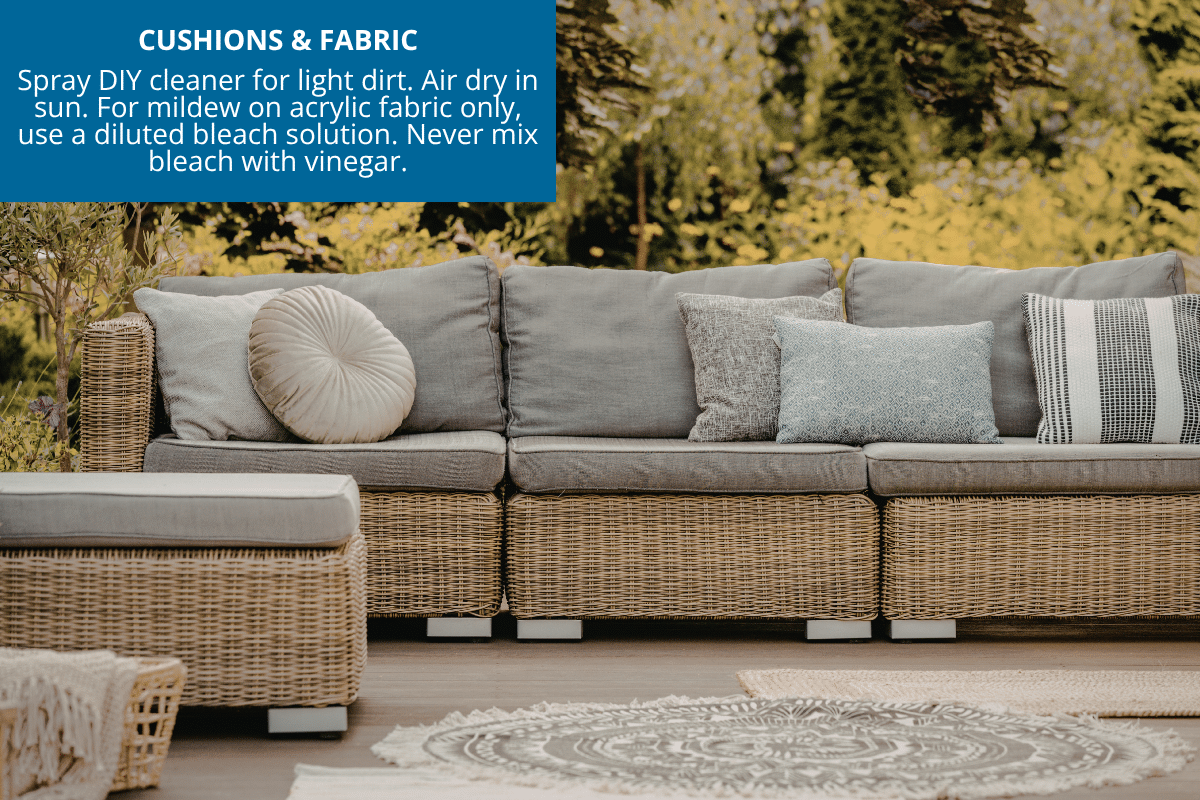
For light dirt, spray the DIY cleaner directly onto the fabric, blot with a clean cloth, and let air dry in the sun.
For mildew, this is where I want to slow down for a second. Mix one cup of bleach with a gallon of warm water and a tablespoon of dish soap, but only for solution-dyed acrylic fabrics like Sunbrella. Bleach will damage other fabrics, so know what you have before you go there.
And this part matters: never mix bleach with vinegar or any other cleaner. If you used the DIY cleaner first, rinse the fabric completely and let it air out before switching to a bleach solution. Gloves are a good idea, and so is protecting any plants nearby. Test on a hidden spot first, just to be safe. Apply, let sit for 15 minutes, then rinse thoroughly and dry in direct sun. The sun does as much of the work as the bleach.
Pro Tips Worth Knowing
Clean on a cloudy day. I know, I know… sunny days feel like the obvious choice. But hot sun dries the cleaner before it can do its job, and leaves streaks on metal. Overcast is actually ideal.
Work top to bottom. Always. Drips go down, not up.
Be careful with pressure washers. They can strip paint, force water into joints, and shred fabric. For most furniture, skip it entirely. If you do use one on sturdy plastic pieces, keep it on the lowest setting and stay away from seams, painted surfaces, and anything with fabric.
Dry everything completely before stacking or storing. Trapped moisture is the single biggest cause of patio furniture damage.
How Often Should You Clean Patio Furniture?
A full deep clean at the start and end of the season covers most homes. Between those, a quick rinse with the hose every couple of weeks during heavy pollen or after big storms keeps buildup from settling in.
Cushions get a much longer life if they go inside (or into a deck box) during stretches of bad weather. Five minutes of putting them away is worth a hundred dollars in not-replacing them. I’ve done the math. Trust me.
Your patio furniture has been out there working hard all season. Give it a little love now, and it’ll take care of you for years to come.


Question: What piece gives you the most grief? For me it’s the resin wicker. Every little crevice turns into a science experiment by mid-summer. Tell me yours in the comments below.
EverydayCheapskate™ is reader-supported. We participate in the Amazon Services LLC Associates Program and other affiliate advertising programs, designed to provide a means for us to earn from qualifying purchases, at no cost to you.

More from Everyday Cheapskate
 https://www.everydaycheapskate.com/wp-content/uploads/20261006-prime-big-deal-days-have-landed.png
800
1200
Mary Hunt
https://www.everydaycheapskate.com/wp-content/uploads/EC-Logo-by-Mary-Hunt-Tagline-Trimmed.png
Mary Hunt2026-10-05 11:01:432026-10-07 09:02:53EC’s Top Picks from Amazon Prime Big Deal Days 2026
https://www.everydaycheapskate.com/wp-content/uploads/20261006-prime-big-deal-days-have-landed.png
800
1200
Mary Hunt
https://www.everydaycheapskate.com/wp-content/uploads/EC-Logo-by-Mary-Hunt-Tagline-Trimmed.png
Mary Hunt2026-10-05 11:01:432026-10-07 09:02:53EC’s Top Picks from Amazon Prime Big Deal Days 2026 https://www.everydaycheapskate.com/wp-content/uploads/20260917-fall-cleaning-checklist.png
800
1200
Mary Hunt
https://www.everydaycheapskate.com/wp-content/uploads/EC-Logo-by-Mary-Hunt-Tagline-Trimmed.png
Mary Hunt2026-09-17 17:11:012026-09-28 22:48:45Fall Cleaning Checklist: 15 Overlooked Spots to Clean
https://www.everydaycheapskate.com/wp-content/uploads/20260917-fall-cleaning-checklist.png
800
1200
Mary Hunt
https://www.everydaycheapskate.com/wp-content/uploads/EC-Logo-by-Mary-Hunt-Tagline-Trimmed.png
Mary Hunt2026-09-17 17:11:012026-09-28 22:48:45Fall Cleaning Checklist: 15 Overlooked Spots to Clean https://www.everydaycheapskate.com/wp-content/uploads/20260902-pumpkin-spice-latte-recipe-homemade-diy.png
800
1200
Mary Hunt
https://www.everydaycheapskate.com/wp-content/uploads/EC-Logo-by-Mary-Hunt-Tagline-Trimmed.png
Mary Hunt2026-09-02 16:16:022026-09-02 16:18:35Homemade Pumpkin Spice Latte Recipe (Cheaper, Better, Faster)
https://www.everydaycheapskate.com/wp-content/uploads/20260902-pumpkin-spice-latte-recipe-homemade-diy.png
800
1200
Mary Hunt
https://www.everydaycheapskate.com/wp-content/uploads/EC-Logo-by-Mary-Hunt-Tagline-Trimmed.png
Mary Hunt2026-09-02 16:16:022026-09-02 16:18:35Homemade Pumpkin Spice Latte Recipe (Cheaper, Better, Faster) https://www.everydaycheapskate.com/wp-content/uploads/20260831-Portrait-of-a-Pitbull-on-a-yellow-background-homemade-dog-treat-recipes.png
800
1200
Mary Hunt
https://www.everydaycheapskate.com/wp-content/uploads/EC-Logo-by-Mary-Hunt-Tagline-Trimmed.png
Mary Hunt2026-08-31 13:06:072026-09-28 22:49:173 Homemade Dog Treats Recipes Your Dog Will Love Most
https://www.everydaycheapskate.com/wp-content/uploads/20260831-Portrait-of-a-Pitbull-on-a-yellow-background-homemade-dog-treat-recipes.png
800
1200
Mary Hunt
https://www.everydaycheapskate.com/wp-content/uploads/EC-Logo-by-Mary-Hunt-Tagline-Trimmed.png
Mary Hunt2026-08-31 13:06:072026-09-28 22:49:173 Homemade Dog Treats Recipes Your Dog Will Love Most https://www.everydaycheapskate.com/wp-content/uploads/20260829-fall-yard-projects-to-tackle-before-the-first-frost-foilage-front-yard-home.png
800
1200
Mary Hunt
https://www.everydaycheapskate.com/wp-content/uploads/EC-Logo-by-Mary-Hunt-Tagline-Trimmed.png
Mary Hunt2026-08-29 17:25:422026-09-28 22:49:2010 Fall Yard Tasks to Complete Before First Frost Hits
https://www.everydaycheapskate.com/wp-content/uploads/20260829-fall-yard-projects-to-tackle-before-the-first-frost-foilage-front-yard-home.png
800
1200
Mary Hunt
https://www.everydaycheapskate.com/wp-content/uploads/EC-Logo-by-Mary-Hunt-Tagline-Trimmed.png
Mary Hunt2026-08-29 17:25:422026-09-28 22:49:2010 Fall Yard Tasks to Complete Before First Frost Hits https://www.everydaycheapskate.com/wp-content/uploads/20260826-DIY-cat-litter-deodorizer-kitten-looking-up-at-camera-from-box.png
800
1200
Mary Hunt
https://www.everydaycheapskate.com/wp-content/uploads/EC-Logo-by-Mary-Hunt-Tagline-Trimmed.png
Mary Hunt2026-08-25 21:17:362026-09-28 22:49:26The One-Ingredient Litter Box Trick That Costs Pennies
https://www.everydaycheapskate.com/wp-content/uploads/20260826-DIY-cat-litter-deodorizer-kitten-looking-up-at-camera-from-box.png
800
1200
Mary Hunt
https://www.everydaycheapskate.com/wp-content/uploads/EC-Logo-by-Mary-Hunt-Tagline-Trimmed.png
Mary Hunt2026-08-25 21:17:362026-09-28 22:49:26The One-Ingredient Litter Box Trick That Costs Pennies https://www.everydaycheapskate.com/wp-content/uploads/20260822-central-AC-maintenance-air-condenser-outdoors.png
800
1200
Mary Hunt
https://www.everydaycheapskate.com/wp-content/uploads/EC-Logo-by-Mary-Hunt-Tagline-Trimmed.png
Mary Hunt2026-08-22 14:19:562026-09-28 22:49:43How to Extend the Life of Your Central AC (5 Late-Summer Tune-Up Tips)
https://www.everydaycheapskate.com/wp-content/uploads/20260822-central-AC-maintenance-air-condenser-outdoors.png
800
1200
Mary Hunt
https://www.everydaycheapskate.com/wp-content/uploads/EC-Logo-by-Mary-Hunt-Tagline-Trimmed.png
Mary Hunt2026-08-22 14:19:562026-09-28 22:49:43How to Extend the Life of Your Central AC (5 Late-Summer Tune-Up Tips) https://www.everydaycheapskate.com/wp-content/uploads/20260820-how-to-keep-ants-away-after-youve-killed-the-ant-hill.png
800
1200
Mary Hunt
https://www.everydaycheapskate.com/wp-content/uploads/EC-Logo-by-Mary-Hunt-Tagline-Trimmed.png
Mary Hunt2026-08-20 14:17:552026-09-28 22:49:46How to Keep Ants Away After You Treat the Ant Hill
https://www.everydaycheapskate.com/wp-content/uploads/20260820-how-to-keep-ants-away-after-youve-killed-the-ant-hill.png
800
1200
Mary Hunt
https://www.everydaycheapskate.com/wp-content/uploads/EC-Logo-by-Mary-Hunt-Tagline-Trimmed.png
Mary Hunt2026-08-20 14:17:552026-09-28 22:49:46How to Keep Ants Away After You Treat the Ant Hill https://www.everydaycheapskate.com/wp-content/uploads/20260815-how-to-water-your-lawn-without-wasting-money.png
800
1200
Mary Hunt
https://www.everydaycheapskate.com/wp-content/uploads/EC-Logo-by-Mary-Hunt-Tagline-Trimmed.png
Mary Hunt2026-08-15 12:45:022026-09-28 22:49:51How to Water Your Lawn Without Wasting Money This Summer
https://www.everydaycheapskate.com/wp-content/uploads/20260815-how-to-water-your-lawn-without-wasting-money.png
800
1200
Mary Hunt
https://www.everydaycheapskate.com/wp-content/uploads/EC-Logo-by-Mary-Hunt-Tagline-Trimmed.png
Mary Hunt2026-08-15 12:45:022026-09-28 22:49:51How to Water Your Lawn Without Wasting Money This SummerPlease keep your comments positive, encouraging, helpful, brief,
and on-topic in keeping with EC Commenting Guidelines
Last update on 2026-10-19 / Affiliate links / Images from Amazon Product Advertising API


I made the mistake of cleaning the frame of my bronze powder coated aluminum chairs with a diluted Lestoil solution. I rinsed well but the turned cloudy. No amount of rubbing or rinsing is removing the cloudiness. Before I try to repaint them, I’m hoping you can offer an alternative solution. Please help!!!
Yes, that’s a bummer. Lestoil is actually a solvent and should never be used on painted surfaces so you likely damaged the top coat. First, you need to neutralize the Lestoil. Use a mild dish soap like Dawn and warm water, rinse thoroughly. Once dry you can dry to restore the paint with automotive products. First start with buffing compound. This is actually a mild abrasive in a polish. Follow the directions on the bottle and test in a small area. If the damage is mild, you could see some noticeable improvements. If that still isn’t working, you can go up a grit and try rubbing compound, followed with buffing compound. A automotive wash on wax will be the last finishing step. It will be a fair bit of work but at this stage it’s likely your only option before needing a re-paint. Let us know how it goes!
Do you say dawn dish soap because they sponsor you, or can it be any dish soap?
No, dawn does not sponsor me (but if they are reading, I love your product!) Dawn is what I use because of it simply works the best and is available everywhere.
I was hoping for info on cleaning our aggregate patio that has moss, moss and more moss attached to it.
That can be a pretty big project. You’ll need a combination o manual removal (scraping by hand or a pressure washer) and then a rinse that kills the moss and algae. Check out 30 second cleaner https://amzn.to/4dM793g which works great. Follow the directions exactly. One thing to note: when using a pressure washer on aggregate be careful not to lift any of the embedded stone. Best of luck!
The resin wicker cleaning instructions are missing. What’s there is a repeat of the teak cleaning instructions.
Look again! The instructions are right below the image. use the cleaner and a soft brush. Make sure to dry completely! Trapped moisture and prolonged sun exposure both shorten the life of resin wicker, so drying it well and keeping it covered when possible makes a real difference.