Tag Archive for: recommend

Homemade Eyeglass Lens Cleaner: 3 Simple Ingredients

Smudges. They’re everywhere. Your phone screen. Your laptop. Your glasses. If you wear specs, you already know: the moment you put them on, someone or something is determined to make them filthy again. I used to buy those little spray bottles of lens cleaner at the optometrist’s office without even thinking. Cute packaging. Tiny bottle. Gone in two weeks. Then I did the math. You don’t want to know. Okay, you do… I’ll get to that. Here’s the thing: you can make a cleaner that works just as well, maybe better, for pennies. And you probably have everything you need right now.
MagicFiber Microfiber Cleaning Cloth, 6 Pack

Why bother making your own?

Fair question. You’re busy. Buying a bottle at the drugstore is easy.

But store-bought lens cleaners can run $8 to $12 for two or three ounces. The homemade version costs a fraction of a penny per ounce. Over a year, that adds up to a real number, especially if you’re cleaning multiple pairs of glasses, a phone, a tablet, and a laptop on the regular.

Plus, you control what’s in it. No mystery ingredients. No weird smell. Just clean.

What You’ll Need
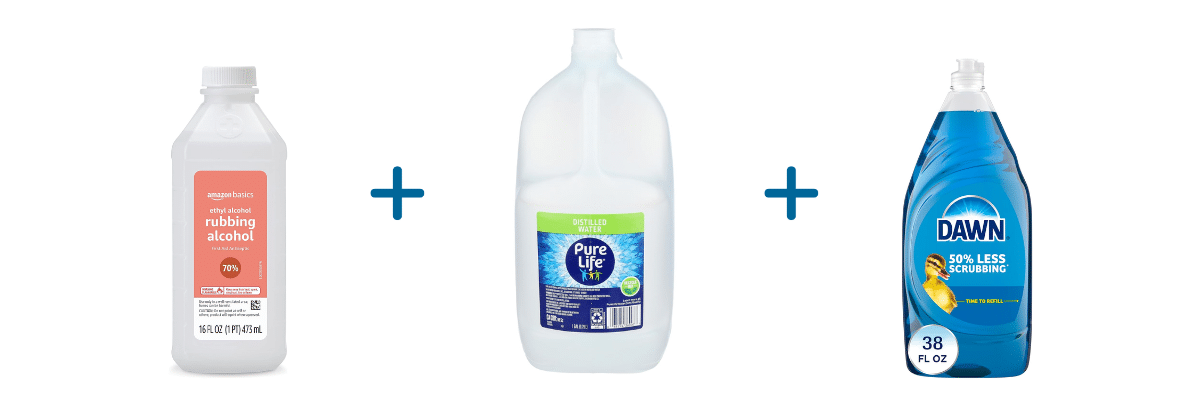
how to make your own DIY eyeglass lens and screen cleaner three ingredients rubbing alcohol distilled water blue dawn

That’s it. Three things. You’ve got them all.

How to Make It

Pour the rubbing alcohol and water into a spray bottle first, then add just one drop of soap. One. I know it feels like nothing. Trust the drop.

Gently swirl to combine. No shaking… you don’t want a bubble party in there.

That’s the whole recipe. Ninety seconds, start to finish.

The Right Way to Use It (This Part Matters)
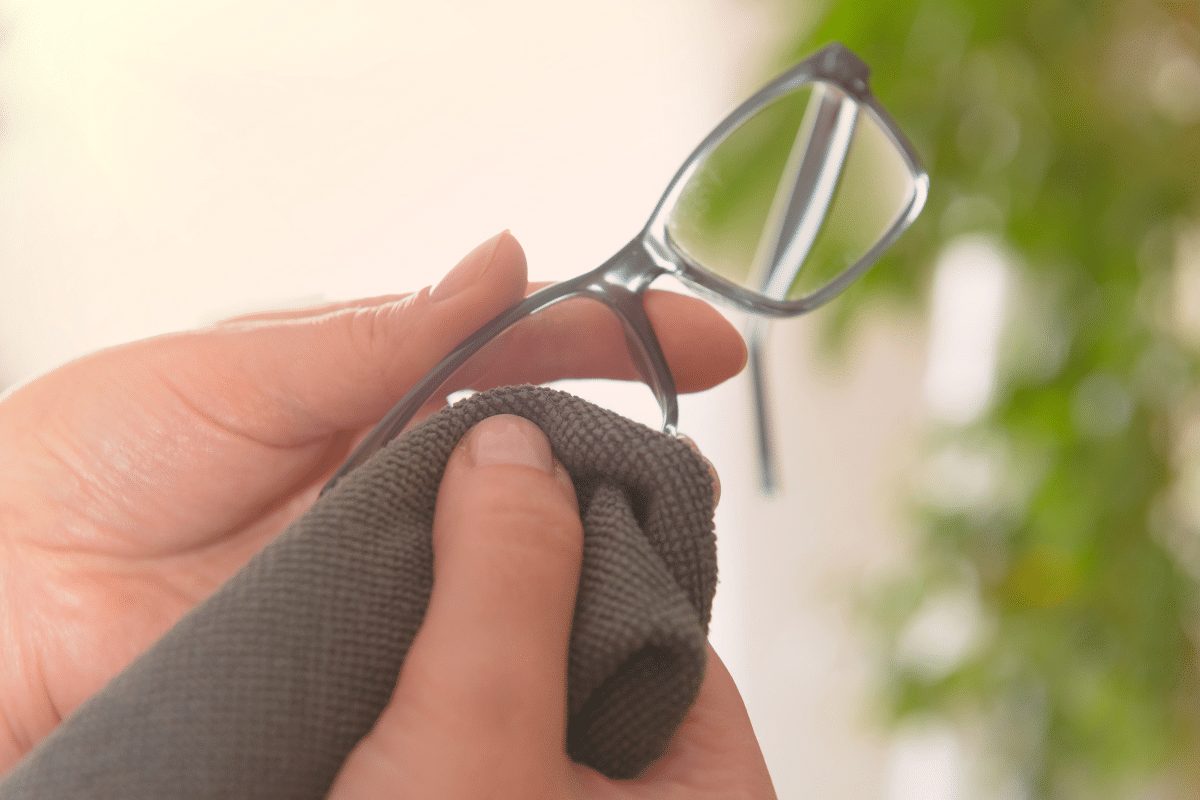
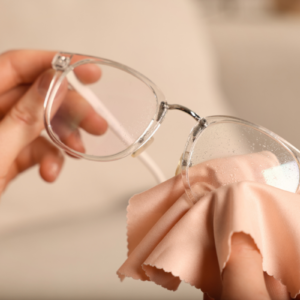
woman holding a microfiber cloth and wiping eyeglasses

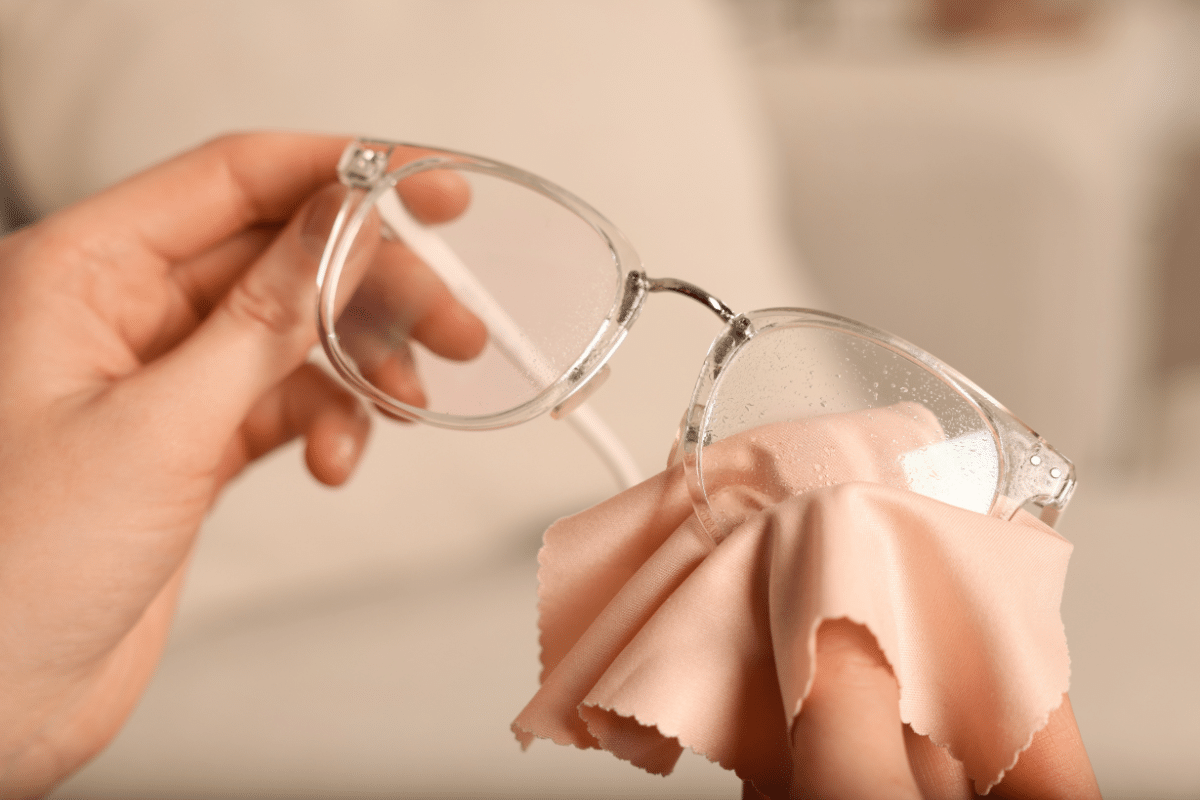
Here’s where most people go wrong: they spray directly onto the lens or screen. Don’t do that. Spray the cleaner onto a microfiber cloth first, then wipe. This keeps moisture away from edges and seams where it can sneak into electronics and cause trouble.

And please… step away from the paper towels. I know they seem harmless. They’re not. Paper towels are made from wood fibers, which are abrasive enough to leave tiny scratches on lens coatings over time. Same goes for your shirt, your sleeve, or a random tissue. Microfiber cloths are soft, lint-free, and designed for exactly this job. A two-pack runs about $3 and lasts for years.

Wait… Can You Use This on Everything?

Mostly yes. But here’s the honest answer: not quite everything. This cleaner works beautifully on:

  • Standard eyeglass lenses
  • Smartphone and tablet screens
  • Laptop screens (non-oleophobic coated ones)
  • Camera lenses and viewfinders

Use caution with:

  • Anti-reflective or specialty-coated lenses. Some premium lens coatings are sensitive to alcohol. If you’re not sure about your lenses, check with your optometrist before using any alcohol-based cleaner including the store-bought kind.
  • Certain laptop screens. Some manufacturers (looking at you, older MacBooks) advise against alcohol on screens. When in doubt, use plain distilled water on the cloth instead.

A little homework upfront protects a big investment.

The Microfiber Cloth: Your Secret Weapon
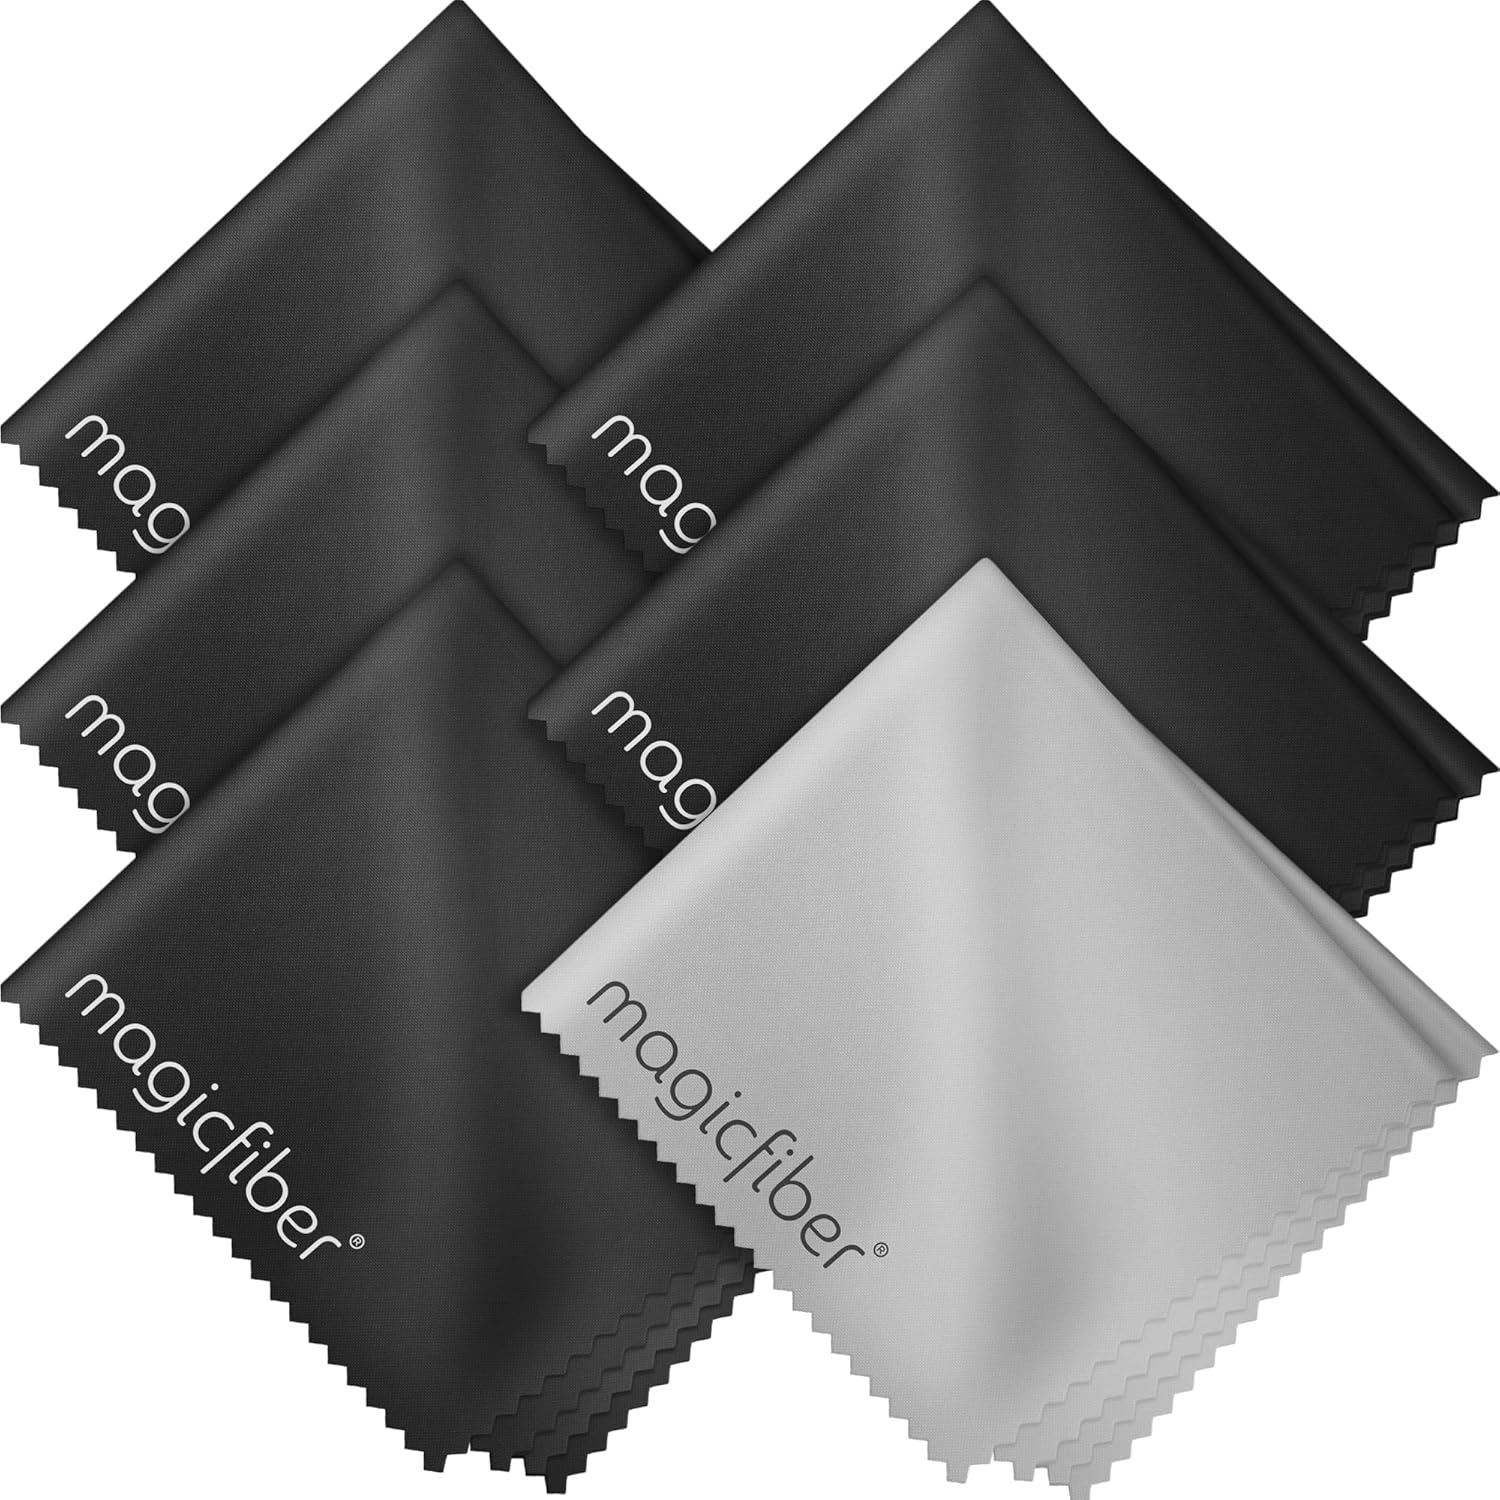
Product Image - Product Image - MagicFiber Microfiber Cleaning Cloth, 6 Pack - Premium Cloth for Glasses, Lens, Screens & More

MagicFiber Microfiber Cleaning Cloth, 6 Pack

I want to talk about microfiber cloths for just a second, because they deserve more credit than they get.

Those tiny synthetic fibers (polyester and polyamide) act like magnets for dust, oils, and smudges. A regular cloth pushes grime around. Microfiber picks it up and holds on. That’s the difference between “wiped” and actually clean.

I’ve tried plenty over the years, and not all microfiber is created equal. Some push smudges around. Others leave lint behind, which defeats the whole point. The ones I keep reaching for are MagicFiber cloths. They are soft, scratch-free, and genuinely good at lifting fingerprints and oily residue without leaving streaks. A 6-pack means you can stash one everywhere you need it: desk, purse, car, nightstand.

Look for the good stuff: 70% polyester, 30% polyamide. And when it’s time to wash them, skip the fabric softener entirely. It clogs the fibers and kills their cleaning power. Air dry only.

No products found.

(Disclosure: This post includes an Amazon Creator Connections product. I may earn a small commission if you purchase through the link, at no additional cost to you.)

Dealing with Streaks or Cloudy Residue

If you’re getting streaks, a few things might be going on:

  • Too much soap. One drop really is the right amount. Even half a drop too much leaves residue. Start fresh and go lighter.
  • Tap water minerals. Hard tap water can leave a film. Switch to distilled water. It’s cheap and makes a noticeable difference.
  • Dirty cloth. A cloth that’s picked up skin oils or product residue will smear, not clean. Time for a wash.

And if your lenses look cloudy no matter what you do? That might be coating wear… worth a conversation with your eye doctor.

Make a Travel Version
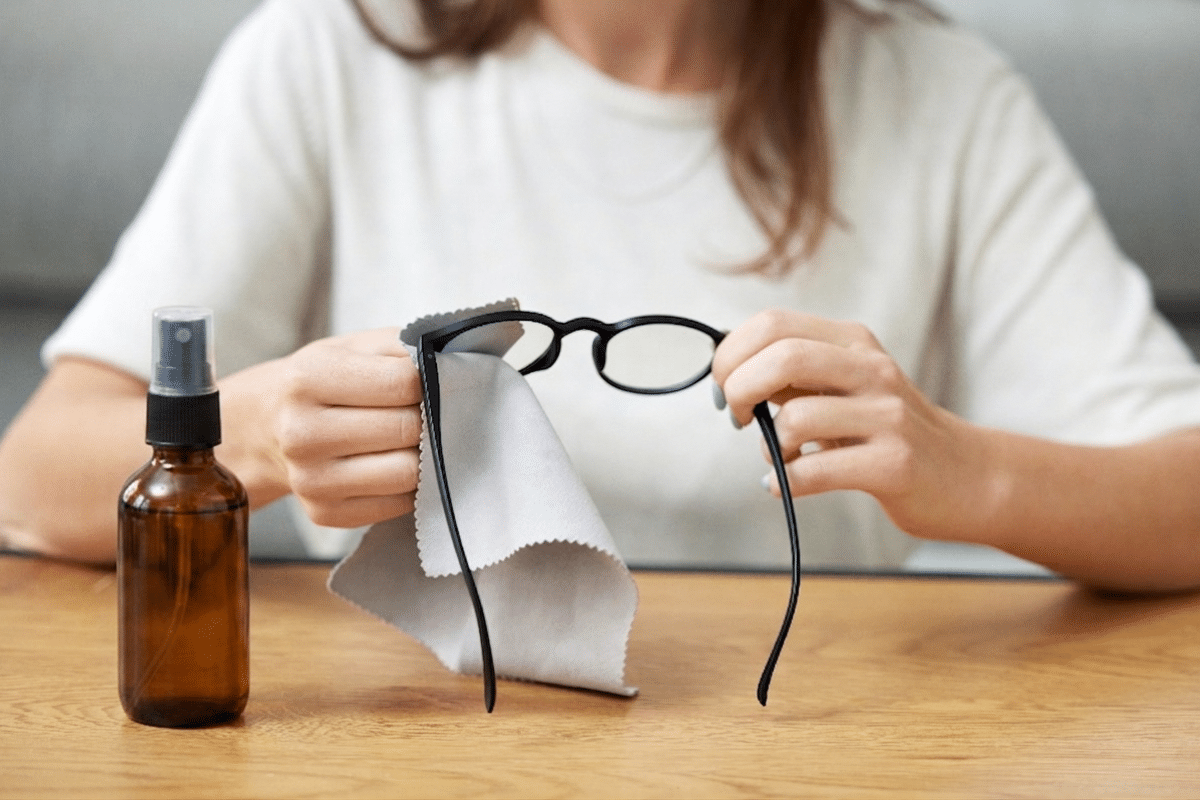
amber glass spray bottle with microfiber and eyeglasses

This is one of my favorite things to do with a good recipe: put it everywhere.

Fill a small spray bottle for your purse or backpack. Tuck one in your car. Keep one at your desk. At these quantities, the cost is essentially nothing and you’ll never be stuck squinting through a smudged screen again.

I use small amber glass spray bottles. The amber protects the solution from light, and a set of four means you can stash one in every spot without ever thinking about it again.

(Disclosure: This post includes an Amazon Creator Connections product. I may earn a small commission if you purchase through the link, at no additional cost to you.)

A Word From the Experts (And My Response)

I’ll be honest with you. Some opticians and optometrists advise against alcohol-based cleaners altogether, warning that they can strip certain lens coatings over time. That’s a real concern, and I don’t want to wave it away.

Here’s my take: this recipe has worked beautifully for my everyday glasses for years. But your lenses aren’t my lenses. If you have premium anti-reflective coatings, photochromic lenses, or anything your optometrist specifically warned you about, check with them first. Plain distilled water on a microfiber cloth is always a safe fallback.

This cleaner shines on phone screens, tablets, laptops, and standard lenses. For anything fancy or expensive? A quick question to your eye doctor costs nothing and could save you a lot.

The Real Cost Comparison

Let me give you those numbers I promised. A name-brand lens cleaner spray often costs around $8 for 2 oz. That’s $4 per ounce.

This homemade version? Less than a penny per ounce. Even if you’re generous with the math, you’re saving 99% per spray.

Make one batch every couple of months, spread it across a few small bottles, and you’ve basically solved this problem forever for the price of a bottle of rubbing alcohol you already own.

Go Make a Batch

Seriously… this one takes less time to make than it takes to find your keys. Grab a spray bottle, measure out your ingredients, and you’re done.

Clean glasses. Clear screens. Happy eyes.

And a few bucks back in your pocket where they belong.
MagicFiber Microfiber Cleaning Cloth, 6 Pack

Homemade Eyeglass Lens & Screen Cleaner

Three ingredients, ninety seconds, and you'll never squint through a smudged screen again.
No ratings yet
Print Pin Rate
Course: DIY Household Cleaners
Cuisine: Cleaning, How-To
Prep Time: 3 minutes
Total Time: 3 minutes
Servings: 8 ounces
Cost: $1

Equipment

  • Spray bottle
  • microfiber cloth

Ingredients

  • 1/2 cups rubbing alcohol 70% isopropyl
  • 1/2 cups distilled water
  • 1 drop Blue Dawn liquid dish soap

Instructions

  • Pour rubbing alcohol and distilled water into a small spray bottle.
  • Add 1 drop Blue Dawn liquid dish soap.
  • Gently swirl to mix. No shaking.
  • Spray onto a microfiber cloth first. Never directly onto a lens or screen. Wipe away fingerprints, smudges, and oily residue.

Notes

Use distilled water if you can. Tap water minerals can leave a film.
Never spray directly onto electronics. Always spray the cloth first.
Not for every lens: If you have premium anti-reflective or specialty coatings, check with your optometrist before using any alcohol-based cleaner. Plain distilled water on a microfiber cloth is always a safe fallback.
Streaks? You probably used too much soap. One drop really is the right amount. Start a fresh batch and go lighter.
Storage: Keeps indefinitely. Fill small 1–2 oz. travel bottles for your purse, car, and desk.
Tried this recipe?Mention @EverydayCheapskate or tag #EverydayCheapskate!

What’s the worst magnet for fingerprints in your house: your glasses, your phone, your tablet, or something else? Share in the comments below.


EverydayCheapskate™ is reader-supported. We participate in the Amazon Services LLC Associates Program and other affiliate advertising programs, designed to provide a means for us to earn from qualifying purchases, at no cost to you.

The 9 Best Gardening Tools for Beginners and Pros Alike

Gardening is a joy—until you realize you don’t have the right tools! I learned the hard way that investing in good-quality gardening gear from the start saves time, frustration, and money. Whether you’re a seasoned green thumb or just getting started, these nine must-have gardening tools will make your experience easier, more enjoyable, and long-lasting.

essential gardening tools for beginners gloves trowel weeder shovel pruning shears rake mower kneeling pad

Beyond the satisfaction of growing your own food or creating a beautiful outdoor space, gardening is seriously good for you. Studies show it can reduce stress, improve mood, and even provide a solid workout—without feeling like one. There’s something about digging in the dirt, soaking up the fresh air, and watching plants thrive that does wonders for both body and mind.
When I first started gardening, I had this romantic idea that all I needed was a packet of seeds and a little enthusiasm. Turns out, enthusiasm doesn’t do much when you’re wrestling with hard-packed soil using a flimsy trowel. After a few frustrating afternoons and more than one broken tool, I realized that having the right tools makes all the difference.

If you’ve been wanting to start a garden but feel overwhelmed by where to begin, I get it. With a few essential tools, the whole process becomes easier, more enjoyable, and a lot less like a battle with nature. Here are the nine tools I wish I had from the start:

Jump to:

  1. Gloves
  2. Trowel
  3. Weeder
  4. Shovel
  5. Pruning Shears
  6. Bow Rake
  7. Reel Lawn Mower
  8. Leaf Rake
  9. Garden Kneeler

1. The Right Gardening Gloves Matter

Product Image - Showa Atlas 370 Garden Club Gloves

Showa Atlas 370 Garden Club Gloves, 4-Pack

Not all gardening gloves are created equal. Some are too stiff, some are too loose, and others leave your hands sweaty and uncomfortable. After testing plenty, my go-to choice is the Atlas Touch Gloves. They’re made of breathable cotton with a nitrile-coated palm and fingers, giving you the perfect balance of flexibility and protection. I can dig, pull weeds, and even pick up small pebbles without taking them off. Bonus: They come in a multi-pack, are machine washable, and last much longer than cheaper alternatives.


2. A Trowel That Does It All

Product Image - Wilcox All-Pro 202S 14" All-Pro Trowel

Wilcox All-Pro 202S 14″ All-Pro Trowel

A good trowel is like an extension of your hand—it should be comfortable, sturdy, and versatile. The Wilcox 14-Inch Garden Trowel is my top pick. It has a wide, sharp edge that cuts through roots and grasses like butter, and the built-in ruler ensures seeds and bulbs get planted at the perfect depth. Whether you’re digging, scooping, or cutting, this trowel is up for the job.


3. The Magic of a Hula-Ho Weeder

Product Image - Flexrake 1000L Hula-Ho Weeder Cultivator

Flexrake 1000L Hula-Ho Weeder Cultivator

If you hate weeding (who doesn’t?), the Hula-Ho Weeder will be your new best friend. Also called the “weeder with a wiggle,” its loose, self-sharpening blade moves back and forth, making quick work of weeds while aerating and loosening soil at the same time. I keep both a 14-inch handle for smaller beds and a 54-inch full-size version for bigger areas.


4. Finding the Perfect Shovel for Any Job

 Product image - Bully Tools 92510 12-Gauge Round Point Shovel

Bully Tools 92510 12-Gauge Round Point Shovel

A good shovel is like a good vacuum—when you find the right one, you’ll wonder how you ever managed without it. The Bully Tools Round Point Shovel is my pick because of its strong, rust-resistant steel blade and fiberglass handle (goodbye, splinters and rot!). Whether you’re digging holes, moving soil, or transferring mulch, this shovel is built to last.


5. The Best Pruning Shears for Healthy Plants

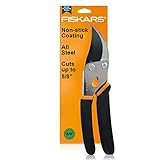
Fiskars 91095935J Steel Bypass Pruning Shears

Fiskars 91095935J Steel Bypass Pruning Shears, 2 Pack

When it comes to pruning, a dull or flimsy pair of shears can do more harm than good. These pruning shears make clean, precise cuts that help keep plants healthy and encourage new growth. They’re lightweight, comfortable, and have a sap groove to keep blades from getting sticky. If you’re pruning fruit trees, shrubs, or delicate flowers, this is the tool you need. My Fiskars pruner is at least 10 years old and still going strong.


6. Why Every Gardener Needs a Bow Rake

Product image - Truper 31380 Tru Pro 60-Inch 16 Teeth Forged Bow Rake

Truper 31380 Tru Pro 60-Inch 16 Teeth Forged Bow Rake

A bow rake isn’t just for gathering leaves. It’s perfect for leveling soil, spreading mulch, and breaking up tough clumps of dirt. Look for one with strong tines and a comfortable handle for easier use. A sturdy steel bow rake will last for years and save you from a lot of back-and-forth with a regular rake.


7. Old-School Mowing for a Healthier Lawn

Product image - Scotts Outdoor Power Tools 2000-20S 20-Inch 5-Blade Classic Push Reel Lawn Mower

Scotts Outdoor Power Tools 2000-20S 20-Inch 5-Blade Classic Push Reel Lawn Mower

This is hands down the best lawn mower if you want to mow the old-fashioned way and get a little exercise while you do it. Scotts Outdoor 20-Inch Mower is the best in its class of push mowers.

This little machine cuts through grass (notice I didn’t say tears through grass) like its butter! It makes the cleanest cuts, promotes healthy grass, and is also easy to adjust for mowing height. Plus, you get a little workout in the process!

Let those memories go if you have childhood memories of a reel mower that gets jammed up and nearly impossible to push. Push mowing has never been easier or cheaper.


8. The Best Leaf Rake

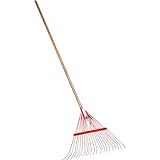
 Product Image - Corona RK 24002 Spring Brace Rake

Corona RK 24002 Spring Brace Rake

I hate it when the tines on a leaf rake get clogged and I have to stop, reach down and pull all the debris away.

Investing in a quality leaf rake with wide, flexible tines will save you time and frustration. Look for a design that resists clogging and lets you rake up leaves, grass clippings, and debris with ease.

I love the Corona Spring Brace Rake because the tines have a spring base to prevent this from happening. The wood handle is 54-inches, which allows for reaching behind bushes and around hedges. And a lifetime warranty, so hang onto the paperwork that it comes with it!


9. Save Your Knees with a Garden Kneeler

Product Image - Gorilla Grip Extra Thick Kneeling Pad

Gorilla Grip Extra Thick Kneeling Pad

If the thought of kneeling in your garden as you tend to routine gardening chores makes you wince in pain, relax. You need an excellent kneeling pad that is thick enough to provide comfort and large enough to kneel on effortlessly.

You will find that in this Gorilla Grip Extra Thick Kneeling Pad. Prepare to want one of these in the house as well. I reach for mine all the time.


Question: Every gardener has a favorite tool they swear by. What’s the one gardening tool you can’t live without? Let me know down in the comments below.

How to Clean Garbage Disposal: The Ultimate Step-by-Step Guide

Learning how to clean your garbage disposal is crucial for a germ-free kitchen. Bacteria and odors can build up, causing potential health risks. Follow this step-by-step guide using simple household items to deep clean your garbage disposal and ensure a fresh, hygienic kitchen.

how to clean garbage disposal stainless sink water running words food waste disposal

Germs—bacteria and viruses—are practically everywhere. While most of them are harmless, about one percent can cause anything from a runny nose to a serious infection. When we clean our homes, common sense tells us to focus on places like toilets and countertops. But we’re just scratching the surface when it comes to where germs truly lurk.

Why Knowing How to Clean Garbage Disposal is Essential

Did you know that there are more than half a million bacteria in the kitchen sink? That’s about 1,000 times more than you’d find on an average toilet! Your garbage disposal is a hotspot for germs from raw food like chicken, eggs, and spinach. These foods can harbor harmful bacteria like salmonella, which can make anyone—especially kids, the elderly, or those with weakened immune systems—very sick.

The metal part of your garbage disposal produces ions that help kill germs, but bacteria love to grow in the crevices around the slimy rubber splash guard. This makes your disposal a real breeding ground for bacteria, contaminating your hands, dishes, and utensils. Plus, all that rotting gunk and grime can cause a serious stink!

So, knowing how to clean your garbage disposal properly is not just about keeping things tidy; it’s about keeping your family safe from harmful bacteria.

Essential Materials for Cleaning Your Garbage Disposal

A close up of a bottle on the counter

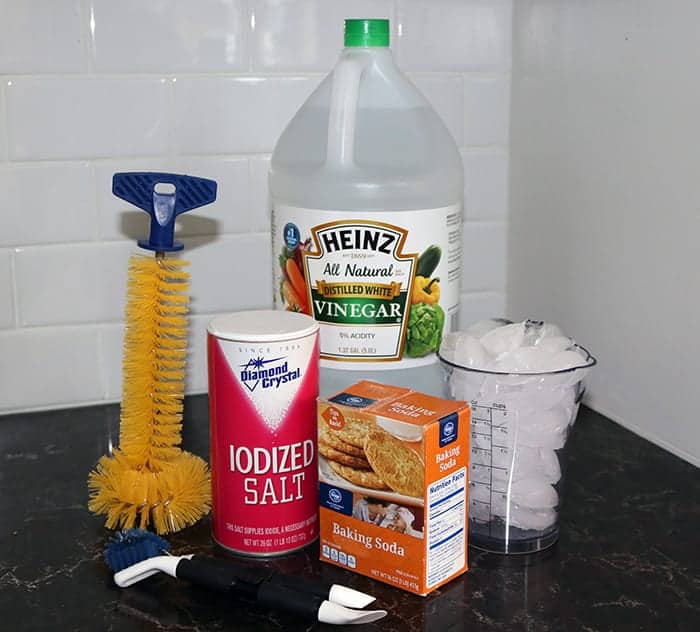
Cleaning your garbage disposal doesn’t require fancy products or expensive tools. You’ll find everything you need right in your kitchen! Here’s your go-to list:

  • Ice Cubes: Perfect for dislodging gunk from the disposal blades.
  • Salt: Rock salt is great, but regular table salt works just fine.
  • Baking Soda: A natural cleaner that helps eliminate odors.
  • White Vinegar: The magic ingredient for fizzing away grime and killing bacteria.
  • Wooden Spoon: Ideal for safely pushing ice into the disposal.
  • Small Stiff Brush: For scrubbing the splash guard and other crevices.
  • Disposal Brush: Designed specifically to clean those hard-to-reach spots inside the disposal.

How to Clean Garbage Disposal: Step-by-Step Instructions

Deep-cleaning your garbage disposal every couple of weeks is the key to keeping it fresh and free of harmful bacteria. It’s easy and takes just 20 minutes using items you probably already have in your freezer and pantry. Here’s how:

Step 1: Ice and Salt

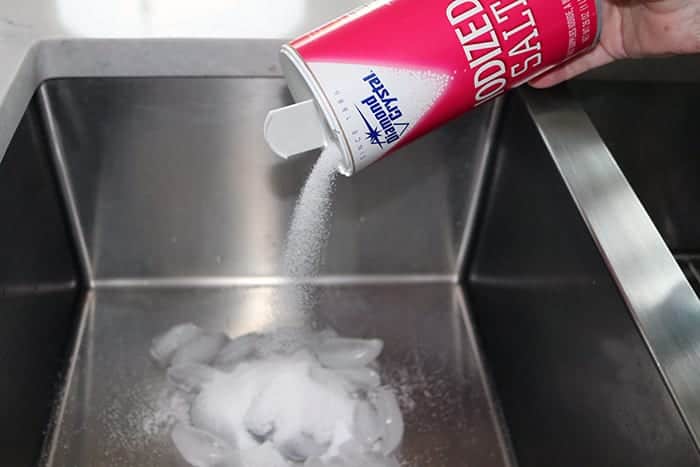
Start by dumping a generous amount of ice cubes into your garbage disposal. Follow this with about 1/2 cup of salt—rock salt if you have it, but regular table salt works just as well.

Sink and Kitchen

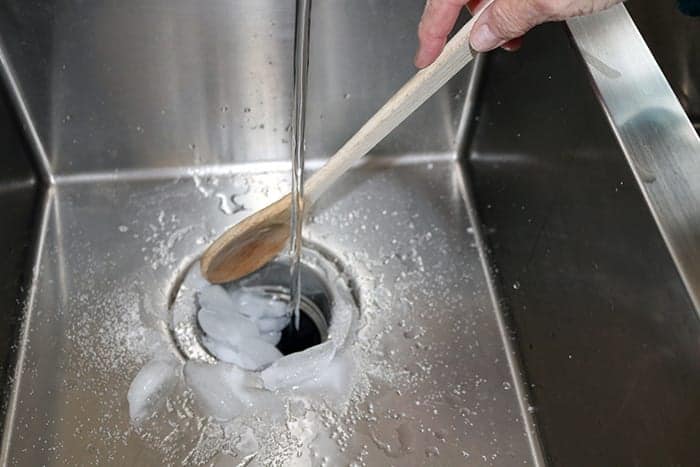
Turn on the disposal and run a small stream of water down the drain. Use a long-handled wooden spoon or similar tool to carefully push all the ice into the running disposal. Keep it on for at least two minutes to let the ice and salt work their magic, dislodging built-up gunk and grime from the blades. Then, turn off the water and disposal.

Drain and Washing

Step 2: Baking Soda and Vinegar

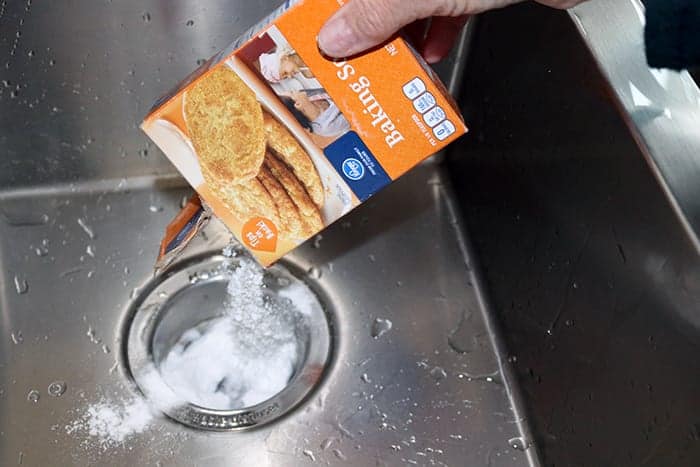
Next, pour about 1/2 cup of baking soda into the disposal.

Image and Bacteria

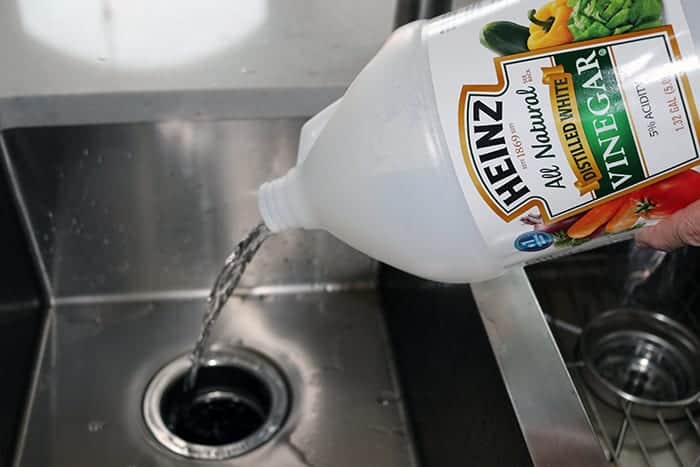
Follow this with 1 cup of white vinegar and get ready for a show! This non-toxic combo will fizz and bubble, breaking down grime and killing bacteria like salmonella and E. coli. Let it sit for at least 15 minutes.

Sink and Drain

Step 3: Brush and Scrub

Product Image - OXO Good Grips Kitchen Appliance Cleaning Set

OXO Good Grips Kitchen Appliance Cleaning Set

While the baking soda and vinegar do their thing, mix a bit of vinegar and baking soda in a small dish to make a thick paste. Dip a small stiff brush (I swear by this brush set; I use it every day for all sorts of tasks) into the paste. Scrub down the top of the disposal and the splash guard (inside and out). If your disposal has a removable splash guard, this part will be much easier. Don’t forget to scrub the rubber sink stopper, too.

Sink and Drain

Step 4: Unplug and Go In

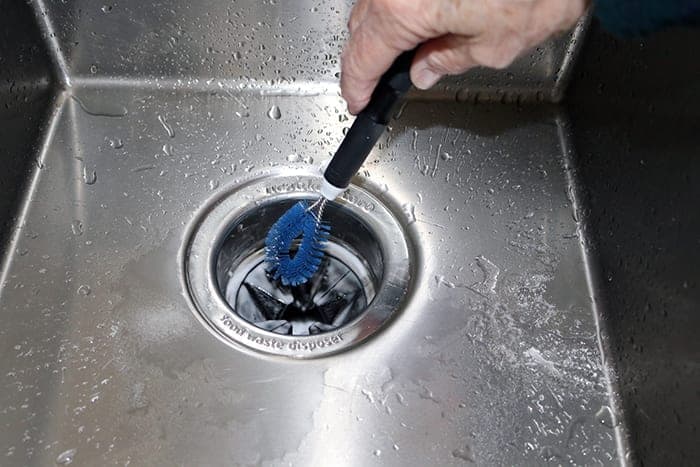
Now, look under the sink to find where the disposal is plugged in and disconnect it from the electrical outlet. You’re going to scrub the inside floor, walls, and the “ceiling” area at the top inside of the disposal. If you’re brave, put on a rubber glove, take a deep breath, and go in with a scrubber or brush.

Product Image - Mr. Scrappy Universal Garbage Disposal Brush, Sturdy Grip Handle

Mr. Scrappy Universal Garbage Disposal Brush

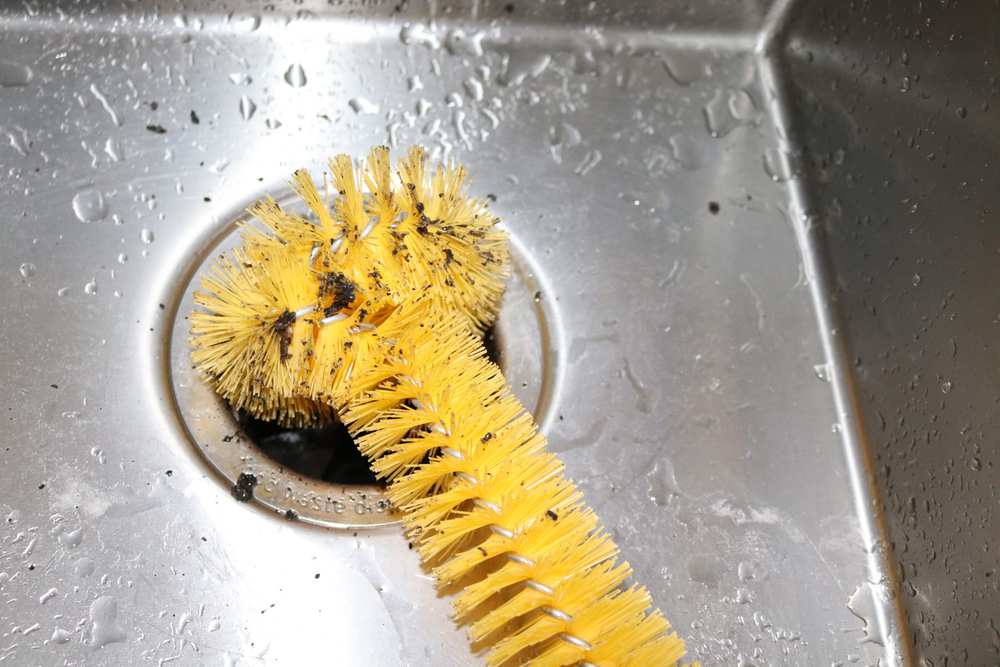
Personally, I prefer to avoid that by using a disposal brush like Mr. Scrappy, designed specifically for this task.

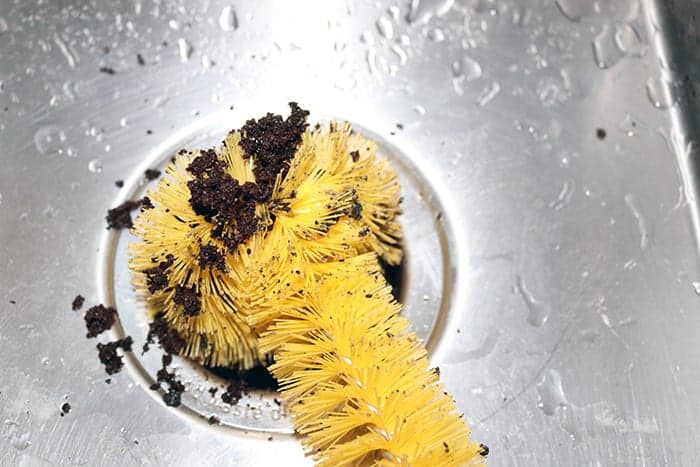
Let me warn you—what you find in there won’t be pretty. Even with routine cleaning, stuff splashes and gets stuck inside the disposal, where it sits and rots. Enough said.

Here, take a look.

Bacteria and Sink

Bacteria and Sink

The previous steps should have loosened the gunk. Now, use your disposal brush to scrub the floor, walls, and “ceiling” areas of the disposal, including the underside of the splash guard, without having to touch any of it. Continue scrubbing, cleaning, and rinsing until your brush comes out clean.

Step 5: Plug It Back In

Plug the disposal back into its electrical outlet. Place the rubber stopper in place and fill the sink three-quarters full of warm water. Add a teaspoon of liquid dishwashing detergent, like Blue Dawn. Remove the rubber stopper, turn on the disposal, and let all the water drain at once. Turn off the disposal.

Step 6: Admire Your Work

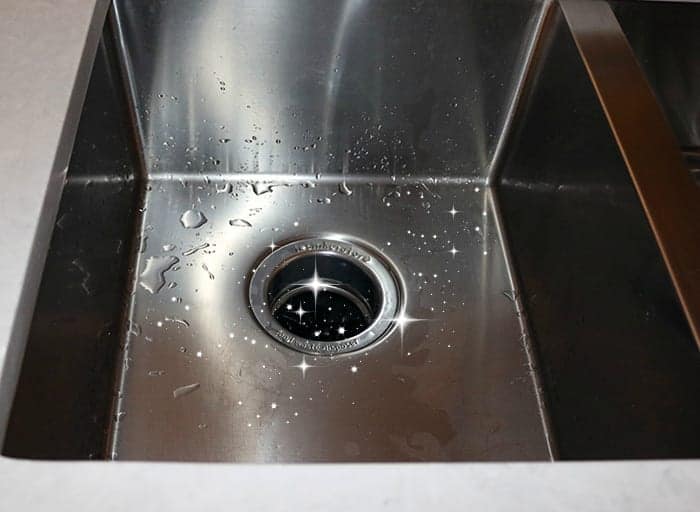
Step back and admire your beautifully clean garbage disposal. Enjoy the fresh, clean scent and peace of mind knowing your kitchen is free of hidden germs.

Water and Bacteria

Daily Tips for Maintaining a Clean Garbage Disposal

Keep your garbage disposal in top shape with a simple daily maintenance routine. Clean the disposal’s splash guard and rubber stopper with a diluted bleach solution—1 teaspoon of liquid bleach in 1 gallon of water, dispensed from a well-labeled spray bottle. Give it a good scrub and rinse thoroughly. Trust me, soap and water just don’t cut it for this job.

Proper Garbage Disposal Use to Prevent Clogs

Remember, your garbage disposal is NOT a garbage can. Avoid putting potato peels, artichoke leaves, or even citrus peels down there. These items can cause blockages that require a plumber’s visit—not fun!

Your garbage disposal is meant for the small chunks and bits that inevitably find their way down the drain in a typical kitchen. Always scrape the big stuff into a trash can or, better yet, compost it if you can. This way, you’ll keep your disposal running smoothly and prevent those pesky clogs.


Question: How often do you deep clean your garbage disposal? Share your best tips and tricks with us.


EverydayCheapskate™ is reader-supported. We participate in the Amazon Services LLC Associates Program and other affiliate advertising programs, designed to provide a means for us to earn from qualifying purchases, at no cost to you.