
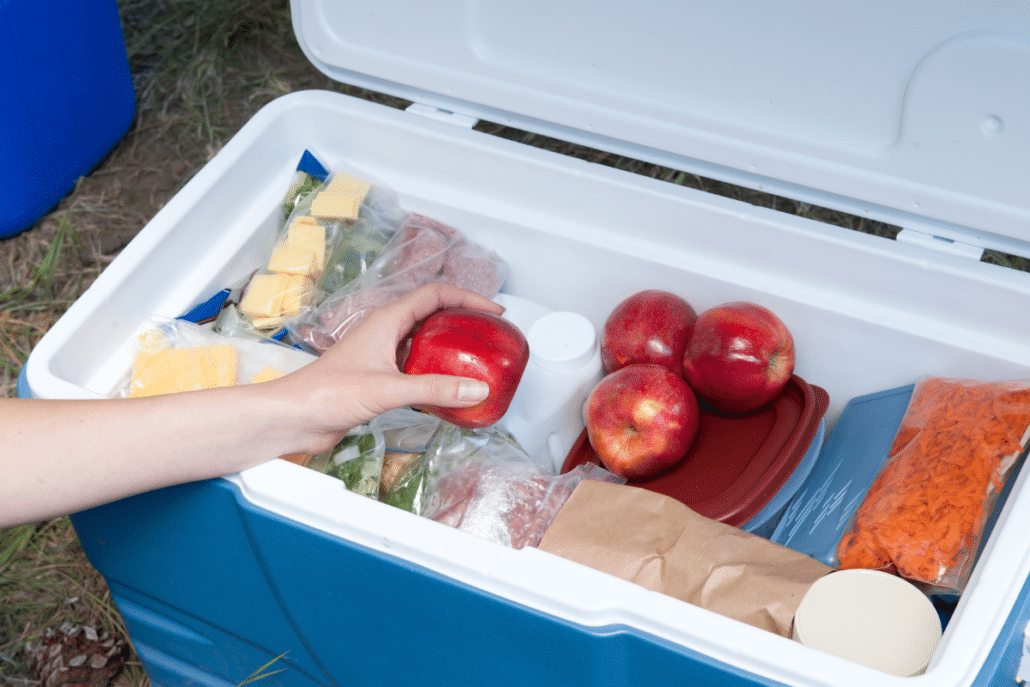
How to Pack a Cooler That Stays Cold for 48 Hours


You’ve had this happen. The ice melted by lunchtime. The soda came out lukewarm. And that chicken you packed for dinner? You stood there poking it, trying to decide if “probably fine” was a food safety standard you were willing to trust. Here’s what I’ve learned after packing more coolers than I can count: the cooler is rarely the problem. A $30 cooler packed the right way will out-perform a $400 one packed carelessly. Every time.
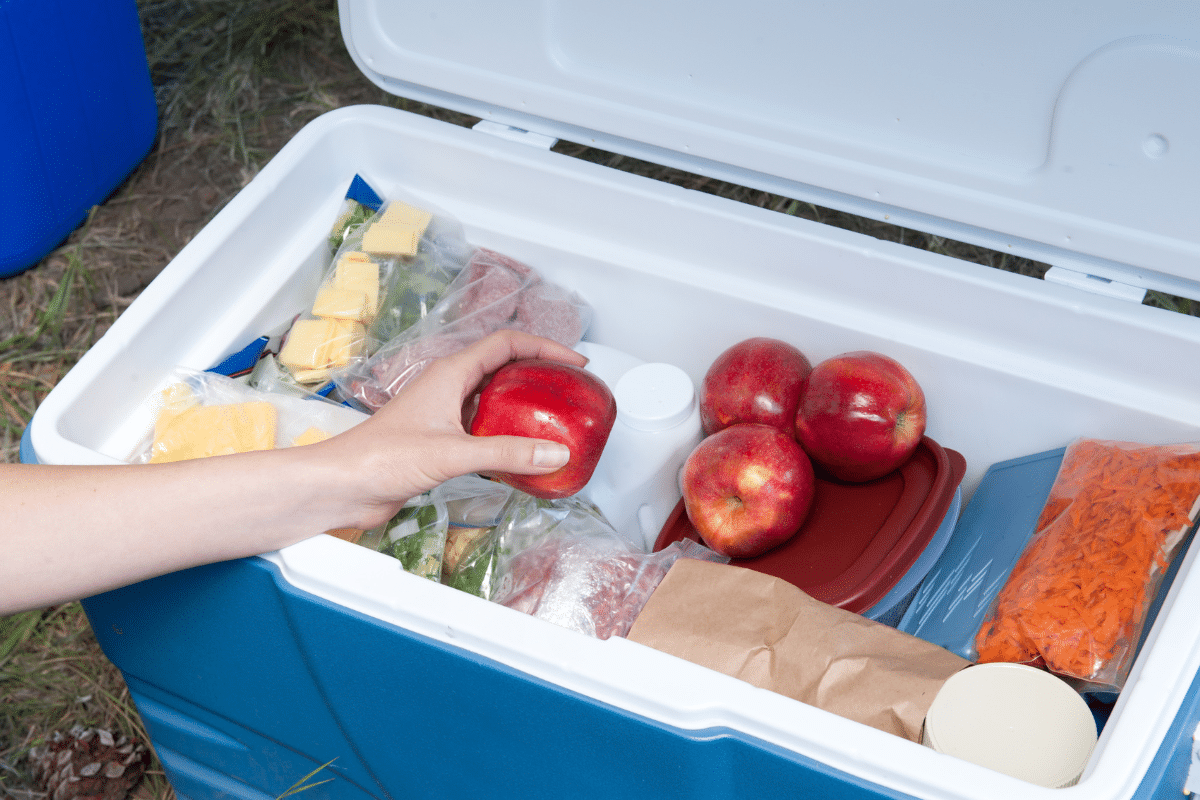
The difference comes down to a handful of habits. Pre-chilling. Layering. Filling every bit of empty space. And resisting the urge to leave that lid open “just for a second.” None of it is complicated. All of it adds up.
Twenty extra minutes before you leave the house can buy you two full days of reliable cold. Let’s get into it.
Why Packing Matters More Than the Cooler Itself
A cooler has exactly one job: keep the cold air inside colder than the air outside for as long as possible. Everything you do either helps with that job or works against it.
Ice melting isn’t really “ice melting.” It’s heat moving into your cooler and forcing the ice to absorb it. Every bit of warm air, every open lid, every gap of empty space is an invitation for heat to come in and eat through your ice supply. Pack smart, and you’re not fighting that battle nearly as hard.
Step 1: Pre-Chill Everything, Including the Cooler
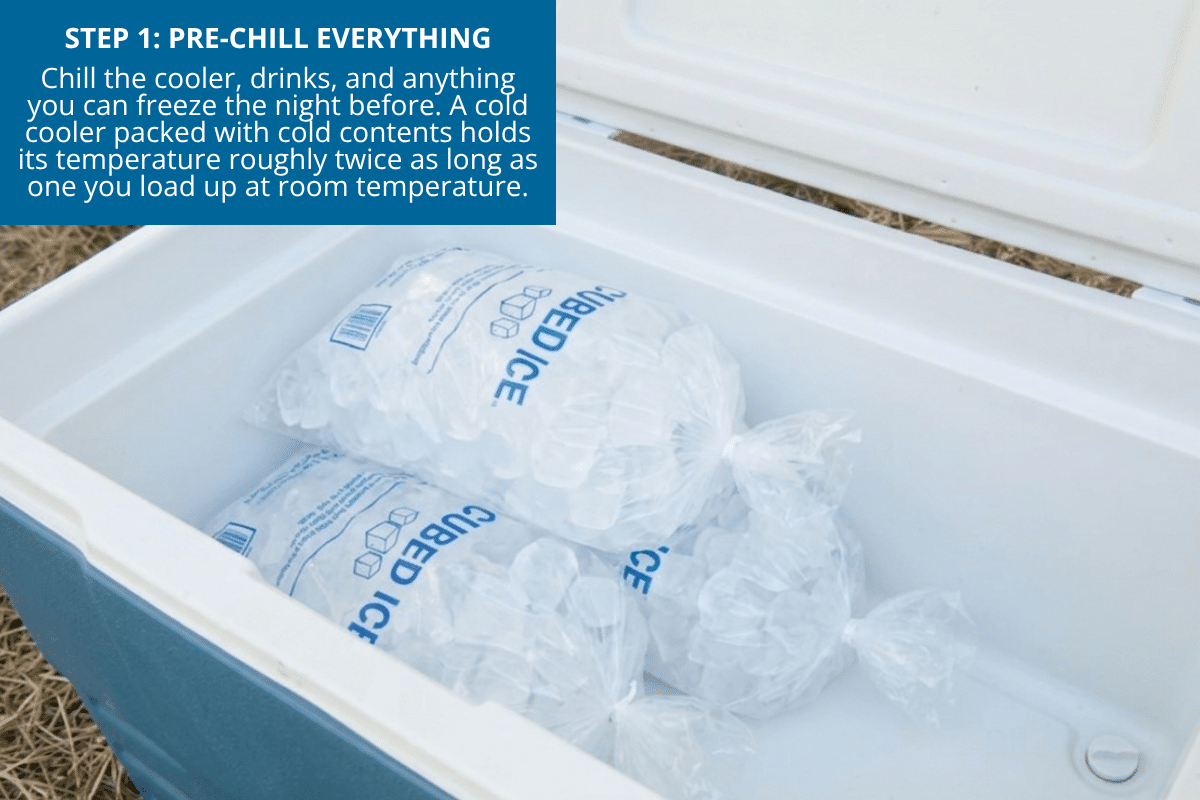
This is the step almost everyone skips, and it might be the single biggest factor in how long your ice survives.
Think about it this way. If your cooler is sitting at room temperature and your drinks are sitting at room temperature, the first job your ice has to do is cool down the cooler and the drinks before it can even start keeping anything cold. That’s wasted ice, gone before you’ve even left the driveway.
Pre-chill the cooler.
The night before, toss a couple of bags of ice into the empty cooler, close the lid, and leave it in the garage or on the porch overnight. By morning the walls and interior are cold clear through. Dump that ice out right before you pack for real.
Pre-chill your drinks.
Get cans and bottles into the fridge at least 12 hours ahead. A cold drink going in means your ice isn’t wasting effort cooling something that should’ve already been cold.
Freeze what you can.
Bottled water, juice boxes, meat you’re cooking the next day. All of it freezes fine, and all of it works as bonus ice while it slowly thaws out over the trip.
A cold cooler packed with cold contents will hold its temperature roughly twice as long as a room-temperature cooler packed with room-temperature contents. Same amount of ice. Wildly different results.
Step 2: Use the Right Kind of Ice for the Job
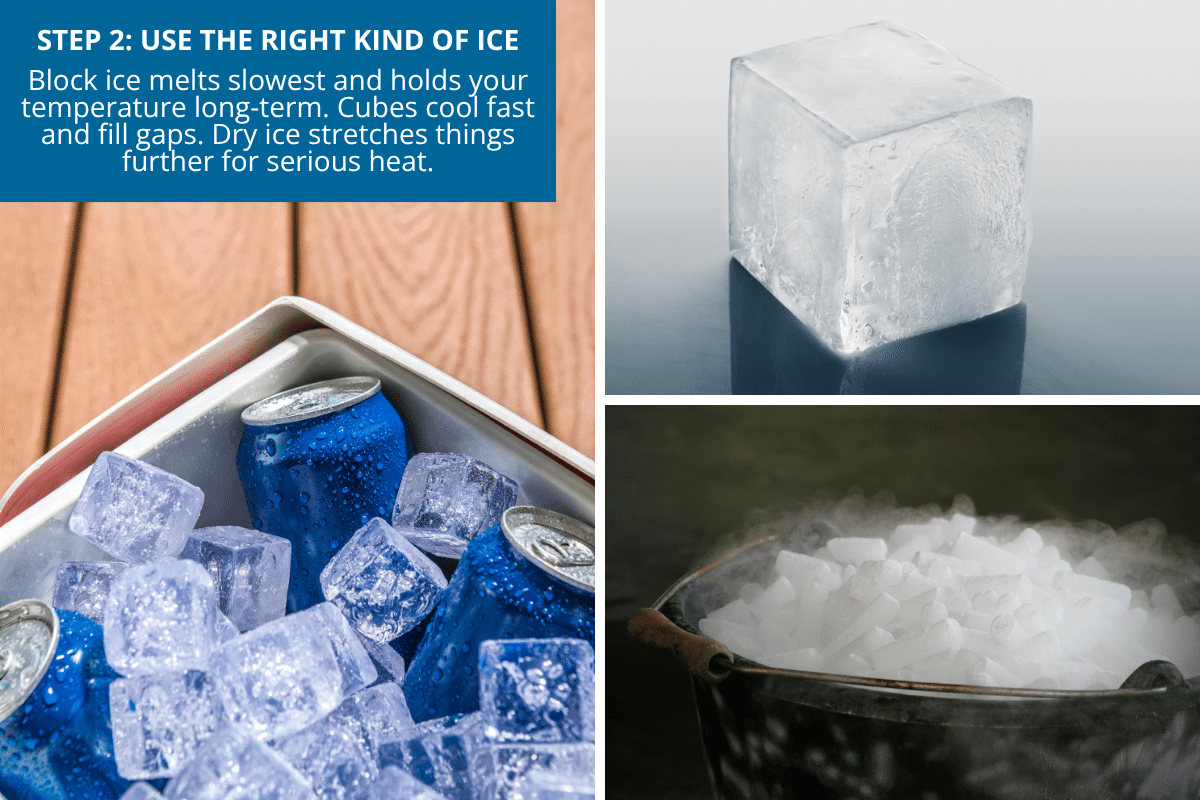
Not all ice behaves the same way, and knowing the difference changes how you pack.
Block Ice
Block ice is your workhorse. A solid block melts far slower than the same amount of ice broken into cubes, simply because it has less surface area exposed to warm air. This is what holds your temperature down over the long haul.
You can buy block ice, or make your own for free. Fill a few empty milk jugs or large juice bottles with water and freeze them solid overnight. Use them whole, still sealed. When they melt, you’ve got clean water to drink instead of a cooler full of murky ice water, and nothing goes to waste.
Cubed or Chipped Ice
Cubed or chipped ice melts faster, but it also cools faster, which makes it perfect for filling in gaps and chilling things down quickly. Use it around your food and in the layers, while your block ice anchors the temperature underneath.
Dry Ice
Dry ice is worth considering only for longer trips in serious heat, three days or more. A small amount layered on top of your regular ice stretches the cold life considerably. A few rules if you go this route: handle it with gloves, never bare hands. Never seal the cooler completely airtight with dry ice inside, since it needs somewhere to vent the gas it releases. And keep it well out of reach of kids and pets.
One more point in block ice’s favor, since I know you’re already doing the math: making your own is free. A store-bought block of ice can run you several dollars a trip, and you’re paying that every single time you head out. A few old milk jugs and a freezer full overnight, and you’ve got the same result for the cost of the water that was already coming out of your tap anyway. I keep two or three jugs in rotation in my freezer at all times, refilling and refreezing as soon as one comes back empty from a trip.
Step 3: Layer It Like You Mean It
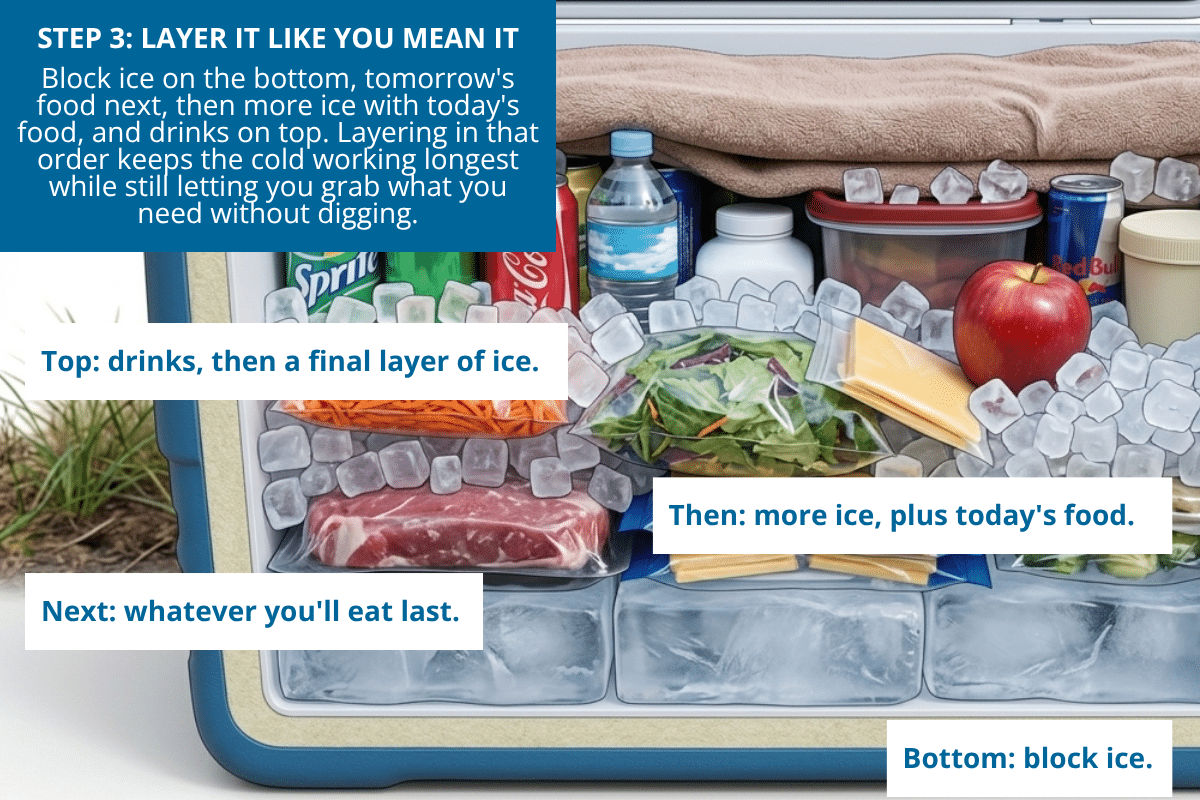
Order matters more than most people realize. Here’s the layering that gets you the longest cold life and still lets you grab what you need without unpacking the whole thing.
Bottom: block ice.
Cover the entire bottom of the cooler. Cold air sinks, so this bottom layer keeps working on everything above it for the whole trip.
Next: whatever you’ll eat last.
Tomorrow’s dinner, day-three breakfast, anything you won’t touch right away. This is the layer that benefits most from sitting in the coldest part of the cooler.
Then: more ice, plus today’s food.
A scattering of cubed ice, then whatever you’re eating today. Put the things you’ll grab first closer to the top so you’re not digging.
Top: drinks, then a final layer of ice.
Drinks belong at the top so nobody has to excavate for a soda. Scatter a last bit of ice over everything.
If you’ve got the room, a folded towel or piece of cardboard laid over that top ice layer adds a surprising amount of extra insulation once the lid closes.
Step 4: Fill Every Bit of Empty Space
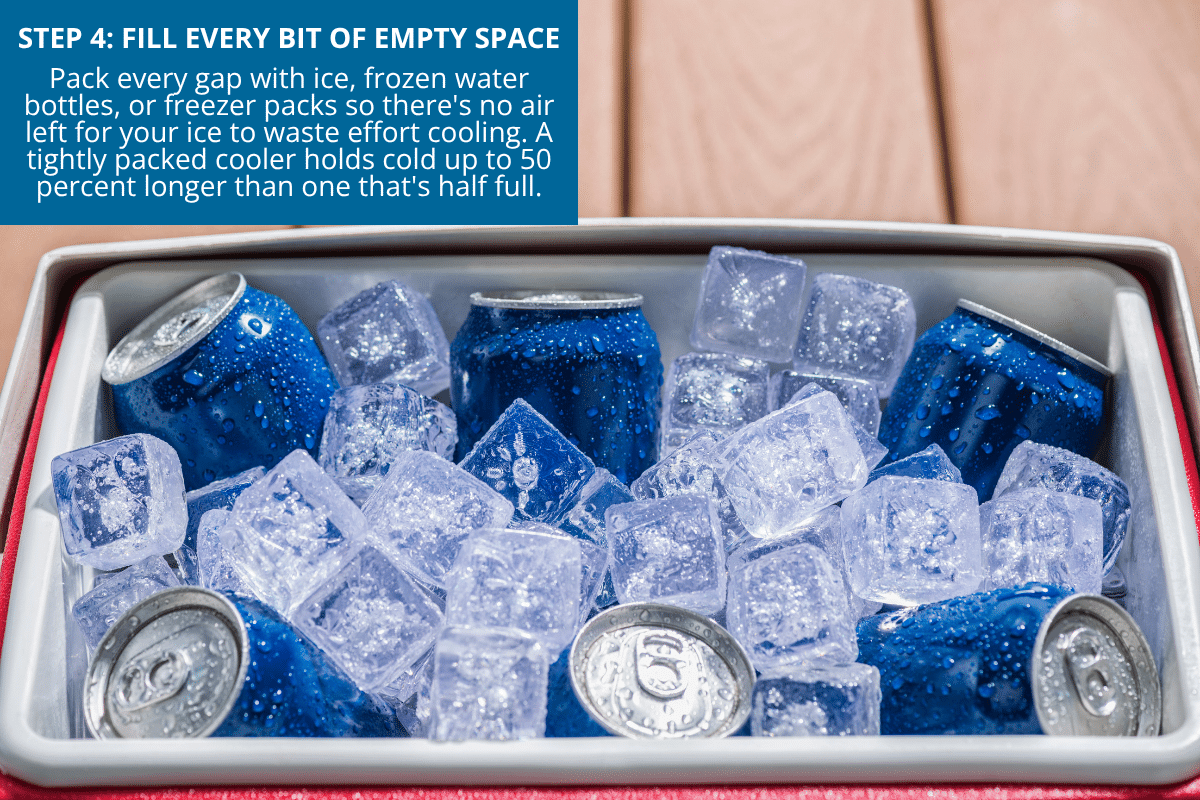
Empty space is the enemy here. Any gap of air inside your cooler is a gap your ice has to work to cool, and it does that at your ice’s expense.
Things that fill gaps well:
- More ice
- Frozen water bottles, which double as drinking water later
- Crumpled aluminum foil, which reflects radiant heat
- Reusable freezer packs tucked into corners
- Frozen meals or burritos sealed in freezer bags.
A cooler packed tight can hold its cold up to 50 percent longer than one that’s half full. If you’re a day or two into a trip and your cooler has gone from packed to half-empty, it’s worth consolidating everything into a smaller cooler rather than hauling around a big one that’s mostly air.
Step 5: Manage the Cooler Once It’s Packed
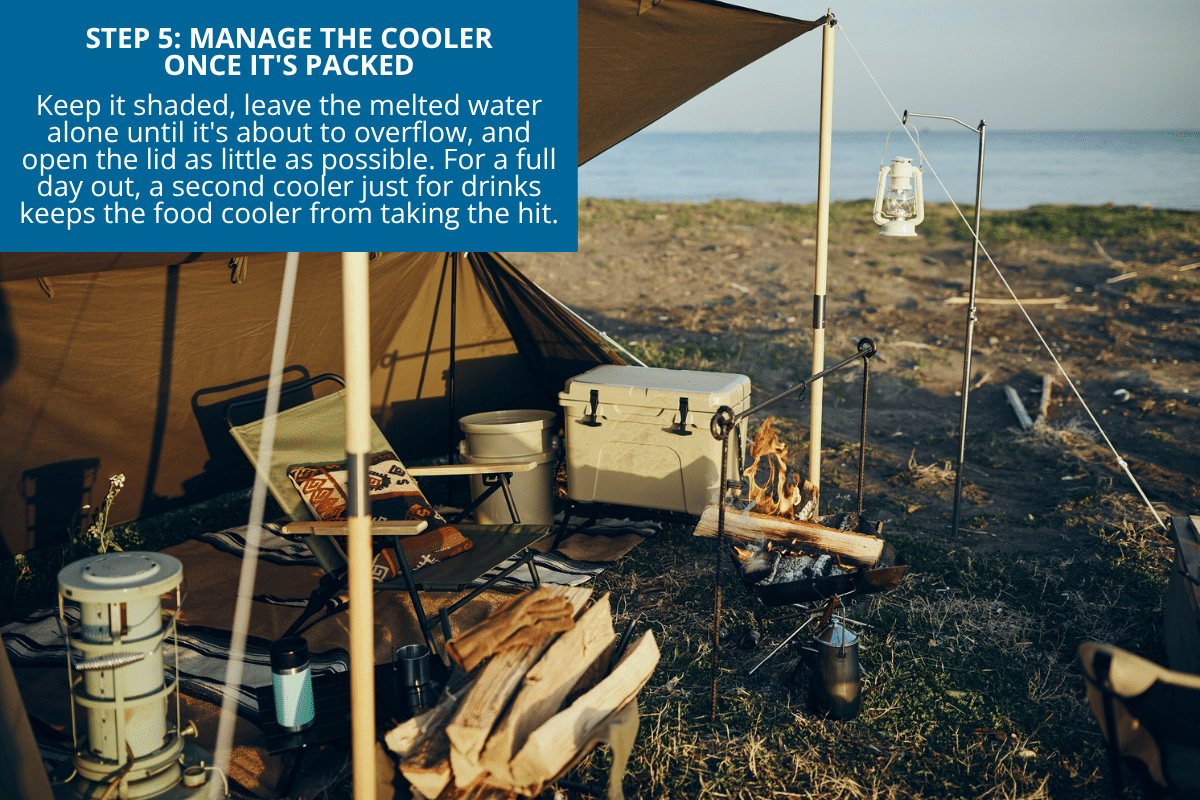
Packing well gets you most of the way there. What you do after matters too.
Keep it in the shade.
Always. An hour sitting in direct sun can undo a lot of your careful packing. If shade isn’t available, throw a light-colored towel or blanket over the top.
Don’t drain the melted water too soon.
That cold water is still doing work keeping things chilled. Wait until it’s genuinely about to overflow before you drain it. Draining early just invites warm air in for no reason.
Open the lid as little as possible.
Every time that lid comes up, cold air spills out and warm air rushes in to replace it. Decide what you need before you open it, grab it, and close the lid right away. This is the rule that’s easiest to ignore and does the most damage when it’s ignored.
Consider two coolers for a full day out.
One for drinks that gets opened constantly, one for food that barely gets touched. The food cooler, left alone, can hold its temperature for days. The drink cooler takes the hit instead.
A word on food safety
Cold drinks are forgiving if things go a little wrong. Raw meat and eggs are not.
Keep raw meat sealed and at the very bottom of the cooler, below everything else, so any leaks can’t get near food that isn’t going to be cooked before it’s eaten.
For any trip longer than 24 hours, a cheap cooler thermometer left inside is worth having. You want everything staying below 40°F, which is the line where food safety becomes a real concern. If anything’s been above that for more than two hours, it goes in the trash. Not worth the gamble.
And when you can, pre-cook what you’re bringing. Cooked food holds up better than raw, both for staying safe and for staying appetizing by the time you’re ready to eat it.
How Much Ice is Actually Enough?
People chronically underpack ice, then wonder why their cooler doesn’t perform. A good rule of thumb: ice should make up at least half the total volume of your cooler, and for longer or hotter trips, closer to two-thirds.
For a weekend trip in warm weather, that usually means one full bag of ice for every 10 to 15 quarts of cooler space, split between block and cubed. It sounds like a lot until you remember that ice is doing double duty. It’s keeping things cold, and it’s filling the empty space that would otherwise be working against you.
If you’re ever debating between “that seems like plenty” and “that seems like too much,” go with too much. Ice you don’t use just melts down to water you can dump out. Ice you didn’t bring can’t be un-forgotten once you’re 20 miles from the nearest store.
Common Mistakes That Undo All This Work
A few habits quietly wreck even a well-packed cooler, and they’re worth calling out on their own.
Packing loosely “for airflow.”
There’s no version of this that helps. Air doesn’t need room to circulate in a cooler. It needs to not exist in the first place. Every pocket of air is a pocket your ice has to cool down, over and over, all day.
- Setting the cooler in the truck bed or car trunk in direct sun. Metal and dark upholstery heat up fast, and your cooler sits right in it for the whole drive. A trunk with the windows cracked, or better yet, the back seat with some shade, keeps things noticeably cooler.
- Grabbing drinks one at a time with the lid open the whole time you’re deciding. This is the quiet killer. Decide before you open the lid. Grab. Close. Every extra second the lid sits open is cold air leaving and warm air taking its place.
- Reusing melted ice water as an excuse to skip fresh ice on a multi-day trip. If you’re out for more than a day or two, plan to restock ice partway through if you have access to it. Trying to stretch one bag of ice across four days in July isn’t frugal, it’s just going to end with warm cheese.
Question: What’s the longest you’ve ever kept a cooler cold on a trip? Any tricks I missed? Tell me in the comments.

More from Everyday Cheapskate
 https://www.everydaycheapskate.com/wp-content/uploads/20260926-pov-from-an-aisle-seat-on-an-airplane.png
800
1200
Mary Hunt
https://www.everydaycheapskate.com/wp-content/uploads/EC-Logo-by-Mary-Hunt-Tagline-Trimmed.png
Mary Hunt2026-09-27 19:14:552026-09-27 19:16:27Confessions of a Woman Who Preflights Her Own Escape
https://www.everydaycheapskate.com/wp-content/uploads/20260926-pov-from-an-aisle-seat-on-an-airplane.png
800
1200
Mary Hunt
https://www.everydaycheapskate.com/wp-content/uploads/EC-Logo-by-Mary-Hunt-Tagline-Trimmed.png
Mary Hunt2026-09-27 19:14:552026-09-27 19:16:27Confessions of a Woman Who Preflights Her Own Escape https://www.everydaycheapskate.com/wp-content/uploads/20260902-pumpkin-spice-latte-recipe-homemade-diy.png
800
1200
Mary Hunt
https://www.everydaycheapskate.com/wp-content/uploads/EC-Logo-by-Mary-Hunt-Tagline-Trimmed.png
Mary Hunt2026-09-02 16:16:022026-09-02 16:18:35Homemade Pumpkin Spice Latte Recipe (Cheaper, Better, Faster)
https://www.everydaycheapskate.com/wp-content/uploads/20260902-pumpkin-spice-latte-recipe-homemade-diy.png
800
1200
Mary Hunt
https://www.everydaycheapskate.com/wp-content/uploads/EC-Logo-by-Mary-Hunt-Tagline-Trimmed.png
Mary Hunt2026-09-02 16:16:022026-09-02 16:18:35Homemade Pumpkin Spice Latte Recipe (Cheaper, Better, Faster) https://www.everydaycheapskate.com/wp-content/uploads/20260831-Portrait-of-a-Pitbull-on-a-yellow-background-homemade-dog-treat-recipes.png
800
1200
Mary Hunt
https://www.everydaycheapskate.com/wp-content/uploads/EC-Logo-by-Mary-Hunt-Tagline-Trimmed.png
Mary Hunt2026-08-31 13:06:072026-09-28 22:49:173 Homemade Dog Treats Recipes Your Dog Will Love Most
https://www.everydaycheapskate.com/wp-content/uploads/20260831-Portrait-of-a-Pitbull-on-a-yellow-background-homemade-dog-treat-recipes.png
800
1200
Mary Hunt
https://www.everydaycheapskate.com/wp-content/uploads/EC-Logo-by-Mary-Hunt-Tagline-Trimmed.png
Mary Hunt2026-08-31 13:06:072026-09-28 22:49:173 Homemade Dog Treats Recipes Your Dog Will Love Most https://www.everydaycheapskate.com/wp-content/uploads/20260829-fall-yard-projects-to-tackle-before-the-first-frost-foilage-front-yard-home.png
800
1200
Mary Hunt
https://www.everydaycheapskate.com/wp-content/uploads/EC-Logo-by-Mary-Hunt-Tagline-Trimmed.png
Mary Hunt2026-08-29 17:25:422026-09-28 22:49:2010 Fall Yard Tasks to Complete Before First Frost Hits
https://www.everydaycheapskate.com/wp-content/uploads/20260829-fall-yard-projects-to-tackle-before-the-first-frost-foilage-front-yard-home.png
800
1200
Mary Hunt
https://www.everydaycheapskate.com/wp-content/uploads/EC-Logo-by-Mary-Hunt-Tagline-Trimmed.png
Mary Hunt2026-08-29 17:25:422026-09-28 22:49:2010 Fall Yard Tasks to Complete Before First Frost Hits https://www.everydaycheapskate.com/wp-content/uploads/20260827-how-to-fly-cheaper-airplane-in-the-bright-blue-sky-above-the-clouds.png
800
1200
Mary Hunt
https://www.everydaycheapskate.com/wp-content/uploads/EC-Logo-by-Mary-Hunt-Tagline-Trimmed.png
Mary Hunt2026-08-27 11:35:132026-09-28 22:49:24How to Fly Cheaper: 8 Booking Tricks Airlines Won’t Teach You
https://www.everydaycheapskate.com/wp-content/uploads/20260827-how-to-fly-cheaper-airplane-in-the-bright-blue-sky-above-the-clouds.png
800
1200
Mary Hunt
https://www.everydaycheapskate.com/wp-content/uploads/EC-Logo-by-Mary-Hunt-Tagline-Trimmed.png
Mary Hunt2026-08-27 11:35:132026-09-28 22:49:24How to Fly Cheaper: 8 Booking Tricks Airlines Won’t Teach You https://www.everydaycheapskate.com/wp-content/uploads/20260826-DIY-cat-litter-deodorizer-kitten-looking-up-at-camera-from-box.png
800
1200
Mary Hunt
https://www.everydaycheapskate.com/wp-content/uploads/EC-Logo-by-Mary-Hunt-Tagline-Trimmed.png
Mary Hunt2026-08-25 21:17:362026-09-28 22:49:26The One-Ingredient Litter Box Trick That Costs Pennies
https://www.everydaycheapskate.com/wp-content/uploads/20260826-DIY-cat-litter-deodorizer-kitten-looking-up-at-camera-from-box.png
800
1200
Mary Hunt
https://www.everydaycheapskate.com/wp-content/uploads/EC-Logo-by-Mary-Hunt-Tagline-Trimmed.png
Mary Hunt2026-08-25 21:17:362026-09-28 22:49:26The One-Ingredient Litter Box Trick That Costs Pennies https://www.everydaycheapskate.com/wp-content/uploads/20260822-central-AC-maintenance-air-condenser-outdoors.png
800
1200
Mary Hunt
https://www.everydaycheapskate.com/wp-content/uploads/EC-Logo-by-Mary-Hunt-Tagline-Trimmed.png
Mary Hunt2026-08-22 14:19:562026-09-28 22:49:43How to Extend the Life of Your Central AC (5 Late-Summer Tune-Up Tips)
https://www.everydaycheapskate.com/wp-content/uploads/20260822-central-AC-maintenance-air-condenser-outdoors.png
800
1200
Mary Hunt
https://www.everydaycheapskate.com/wp-content/uploads/EC-Logo-by-Mary-Hunt-Tagline-Trimmed.png
Mary Hunt2026-08-22 14:19:562026-09-28 22:49:43How to Extend the Life of Your Central AC (5 Late-Summer Tune-Up Tips) https://www.everydaycheapskate.com/wp-content/uploads/20260820-how-to-keep-ants-away-after-youve-killed-the-ant-hill.png
800
1200
Mary Hunt
https://www.everydaycheapskate.com/wp-content/uploads/EC-Logo-by-Mary-Hunt-Tagline-Trimmed.png
Mary Hunt2026-08-20 14:17:552026-09-28 22:49:46How to Keep Ants Away After You Treat the Ant Hill
https://www.everydaycheapskate.com/wp-content/uploads/20260820-how-to-keep-ants-away-after-youve-killed-the-ant-hill.png
800
1200
Mary Hunt
https://www.everydaycheapskate.com/wp-content/uploads/EC-Logo-by-Mary-Hunt-Tagline-Trimmed.png
Mary Hunt2026-08-20 14:17:552026-09-28 22:49:46How to Keep Ants Away After You Treat the Ant Hill https://www.everydaycheapskate.com/wp-content/uploads/20260815-how-to-water-your-lawn-without-wasting-money.png
800
1200
Mary Hunt
https://www.everydaycheapskate.com/wp-content/uploads/EC-Logo-by-Mary-Hunt-Tagline-Trimmed.png
Mary Hunt2026-08-15 12:45:022026-09-28 22:49:51How to Water Your Lawn Without Wasting Money This Summer
https://www.everydaycheapskate.com/wp-content/uploads/20260815-how-to-water-your-lawn-without-wasting-money.png
800
1200
Mary Hunt
https://www.everydaycheapskate.com/wp-content/uploads/EC-Logo-by-Mary-Hunt-Tagline-Trimmed.png
Mary Hunt2026-08-15 12:45:022026-09-28 22:49:51How to Water Your Lawn Without Wasting Money This Summer

Wow Mary…how I wish/known these tips years ago. Thank you!!!!
We’ve had good luck with bubble wrap laid over the top of everything. It adds a layer of insulation and keeps the air pockets outside it if your cooler isn’t full (as you remove items).